
The 5–7 GPM12V Soft Wash System I'd Build Again
This is the complete parts list and written build guide for the 12V soft wash system shown in my video. I've included the exact style of pump, tank, hose, battery setup, fittings, quick-connects, gun, and J-Rod needed to put one together.
Watching my build video? Use this page as the complete shopping list and connection guide.
Budget build
≈$620+
My 7 GPM build
≈$980+
Flow options
5 or 7 GPM
Build difficulty
Intermediate
Totals are calculated from the part prices listed below. Tax, shipping, mounting hardware, extra wiring, sealant, and chemical are not included.
The System at a Glance
Chemical tank
30, 35, or 50 gallon
12V pump
5 GPM VEVOR or 7 GPM Remco
1/2″ soft wash hose
50 or 100 ft Flexzilla
Suttner ST-515 gun
With stainless quick-connects
Flow-matched J-Rod
Soap and rinse nozzles
Some links on this page are Amazon affiliate links. I may earn a commission at no additional cost to you. I only include equipment I use, have tested, or would seriously consider for this build.
Pick Your Build
Two Ways to Build It
Same layout, same plumbing, same wiring — the difference is the pump, tank size, hose length, and J-Rod. Switch between the two builds to see the full parts list and estimated total for each. Every section below breaks these parts down in detail.
The cheapest way I’d put together a real dedicated soft wash system. VEVOR pump, 30 gallon drum tank, plastic battery box, 50 feet of hose, and the 5–6 GPM J-Rod — with the same wiring, bulkhead, and fitting kit as my build.
Total ≈ $620+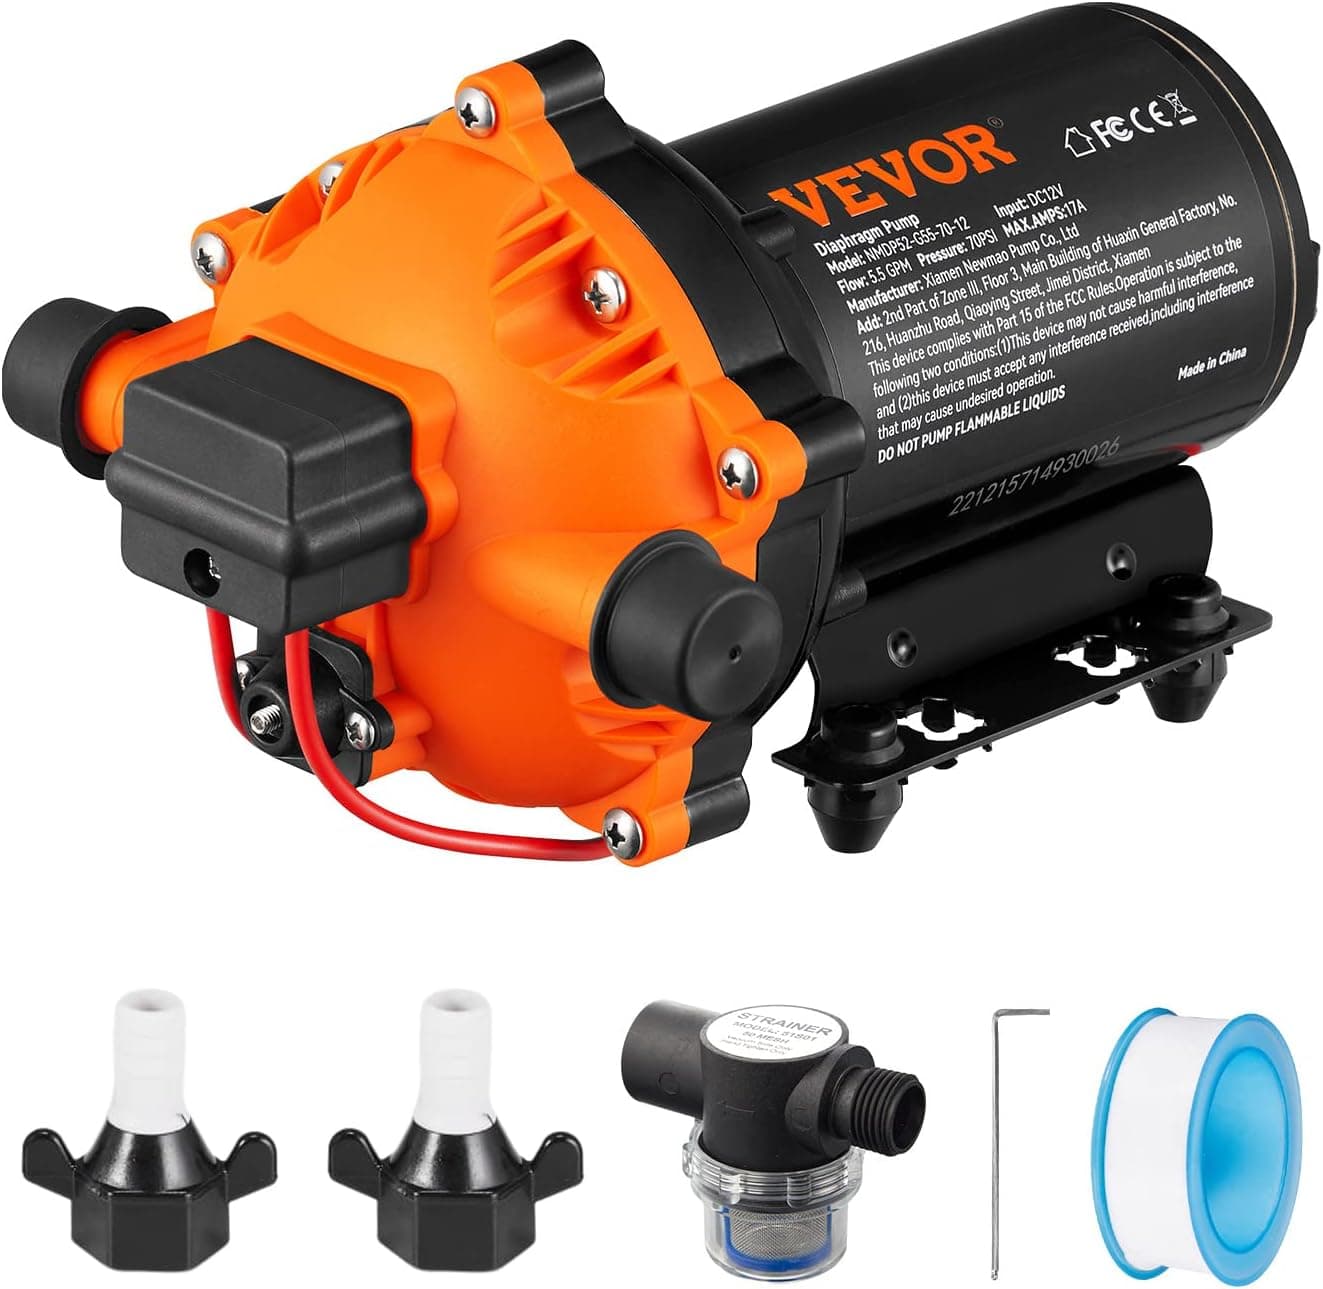 View on Amazon
VEVOR 5 GPM 12V Pump
≈$55Budget Option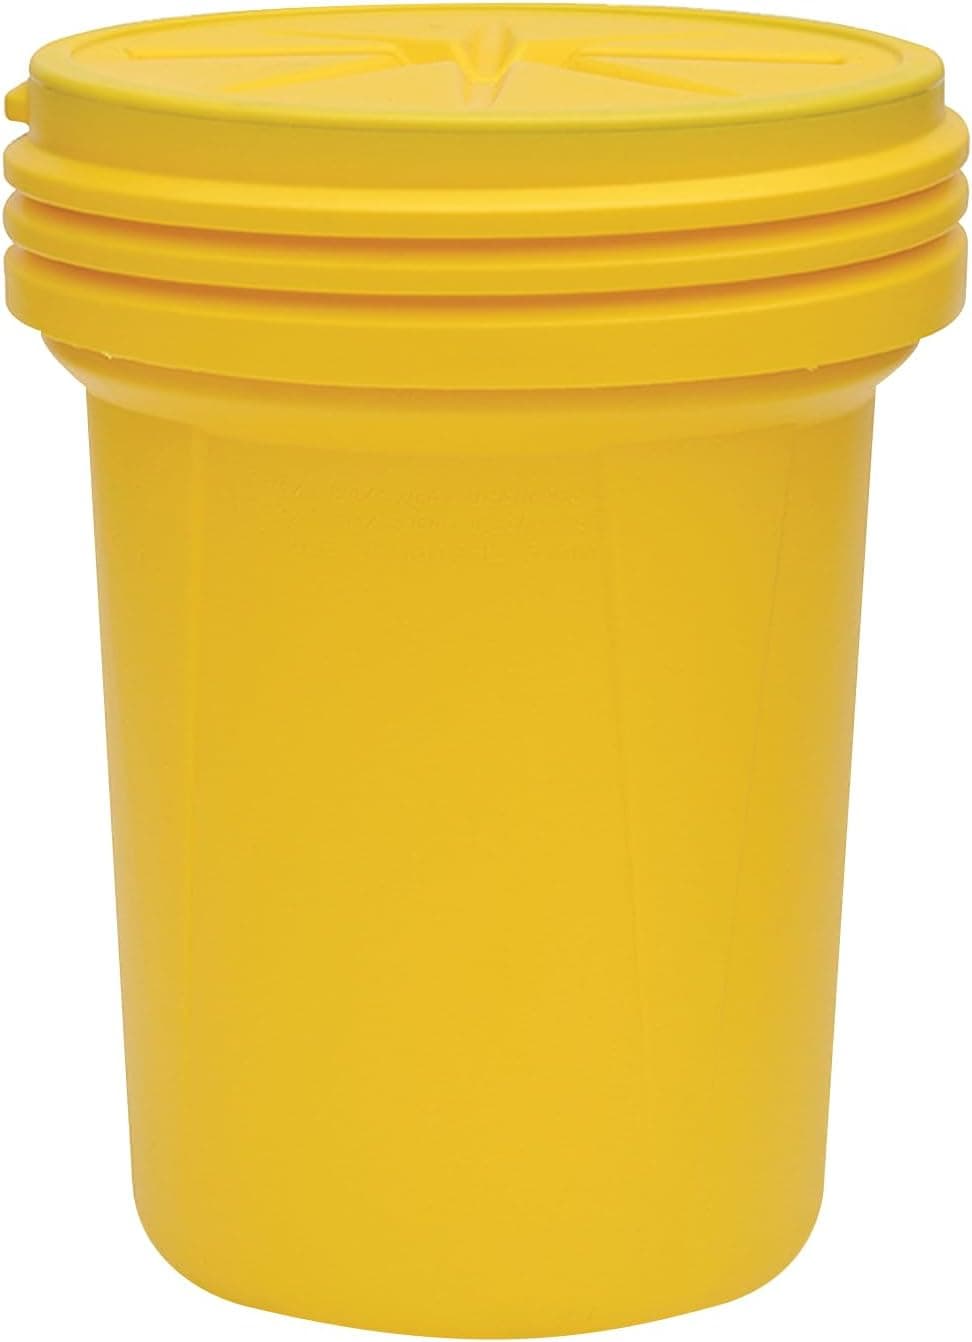 View on Amazon
30 Gallon Drum-Style Tank
≈$80Lowest-Cost Option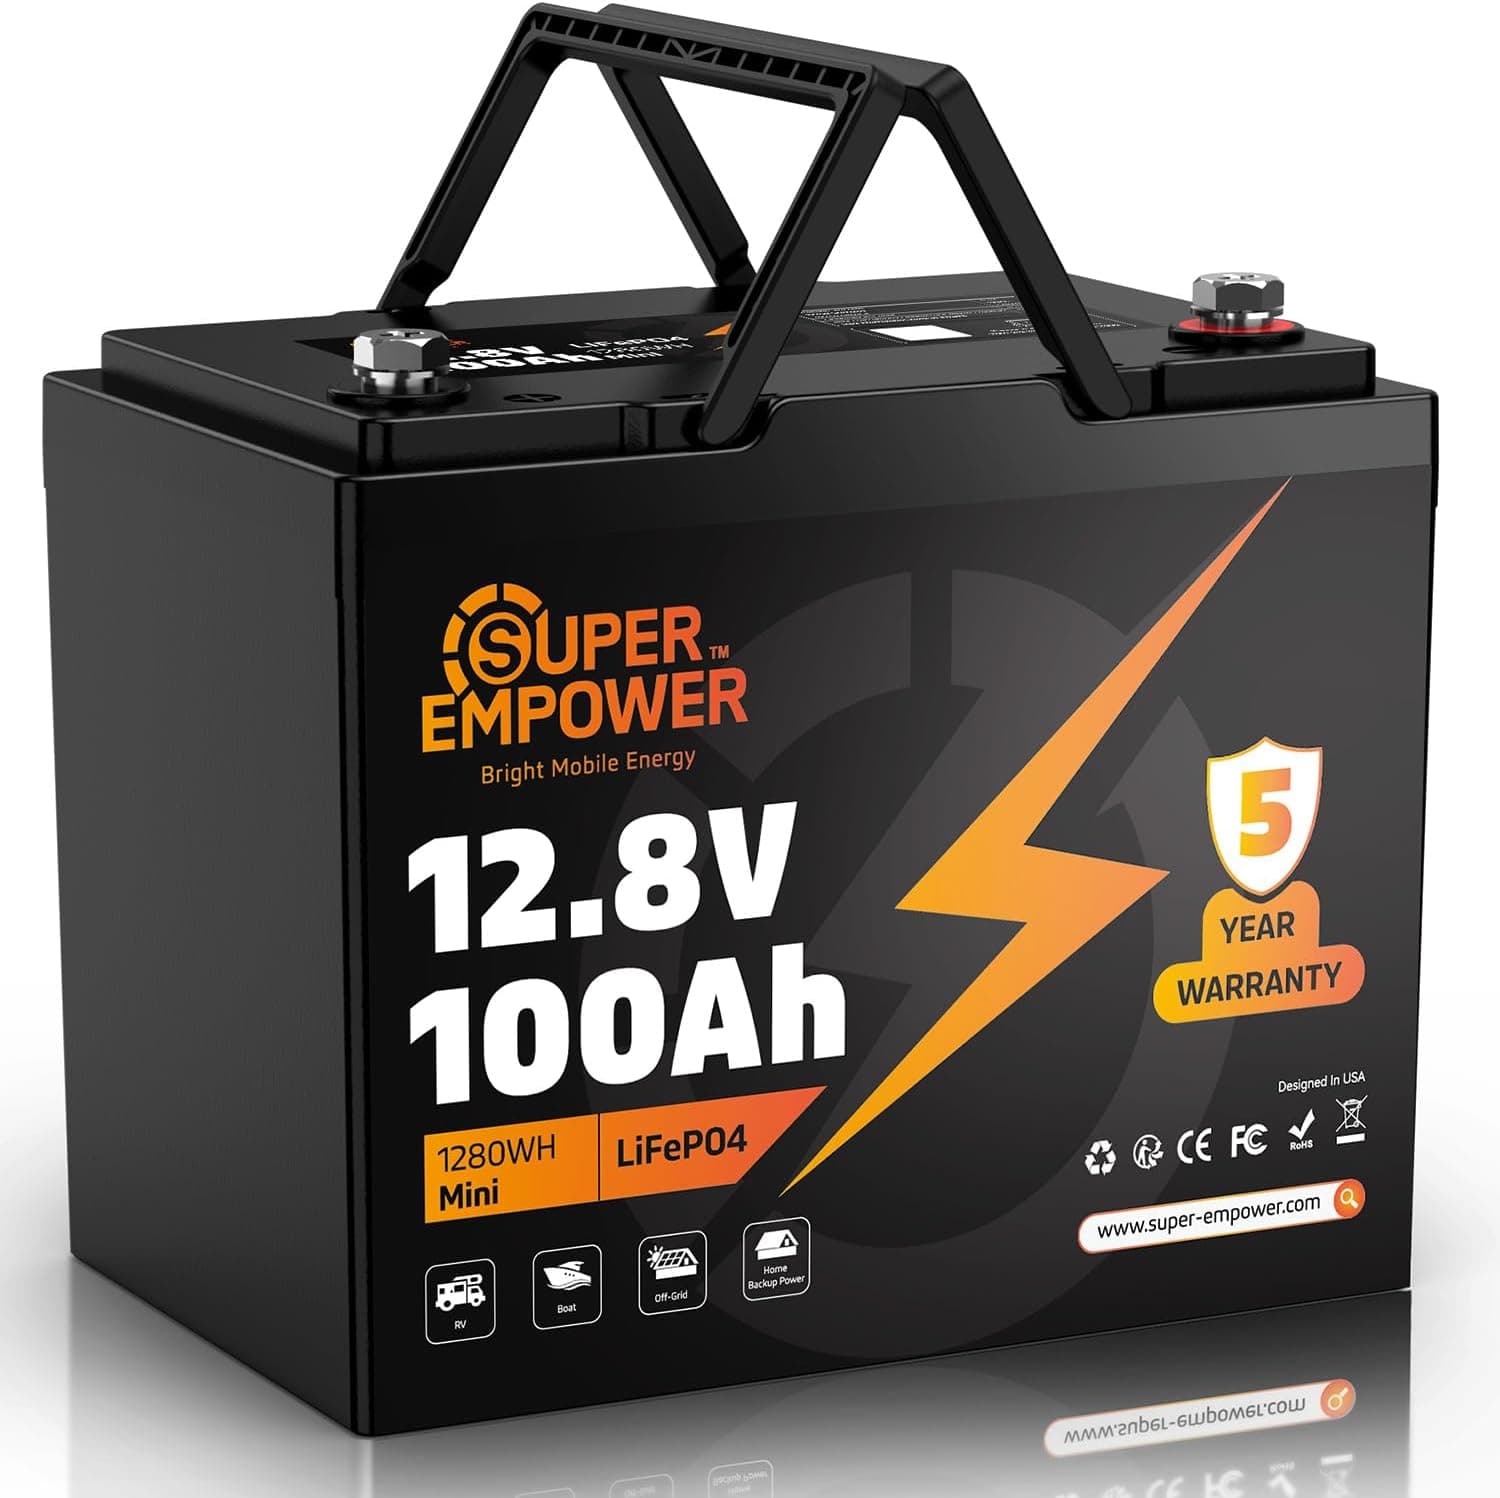 View on Amazon
12V Marine Battery
≈$155Required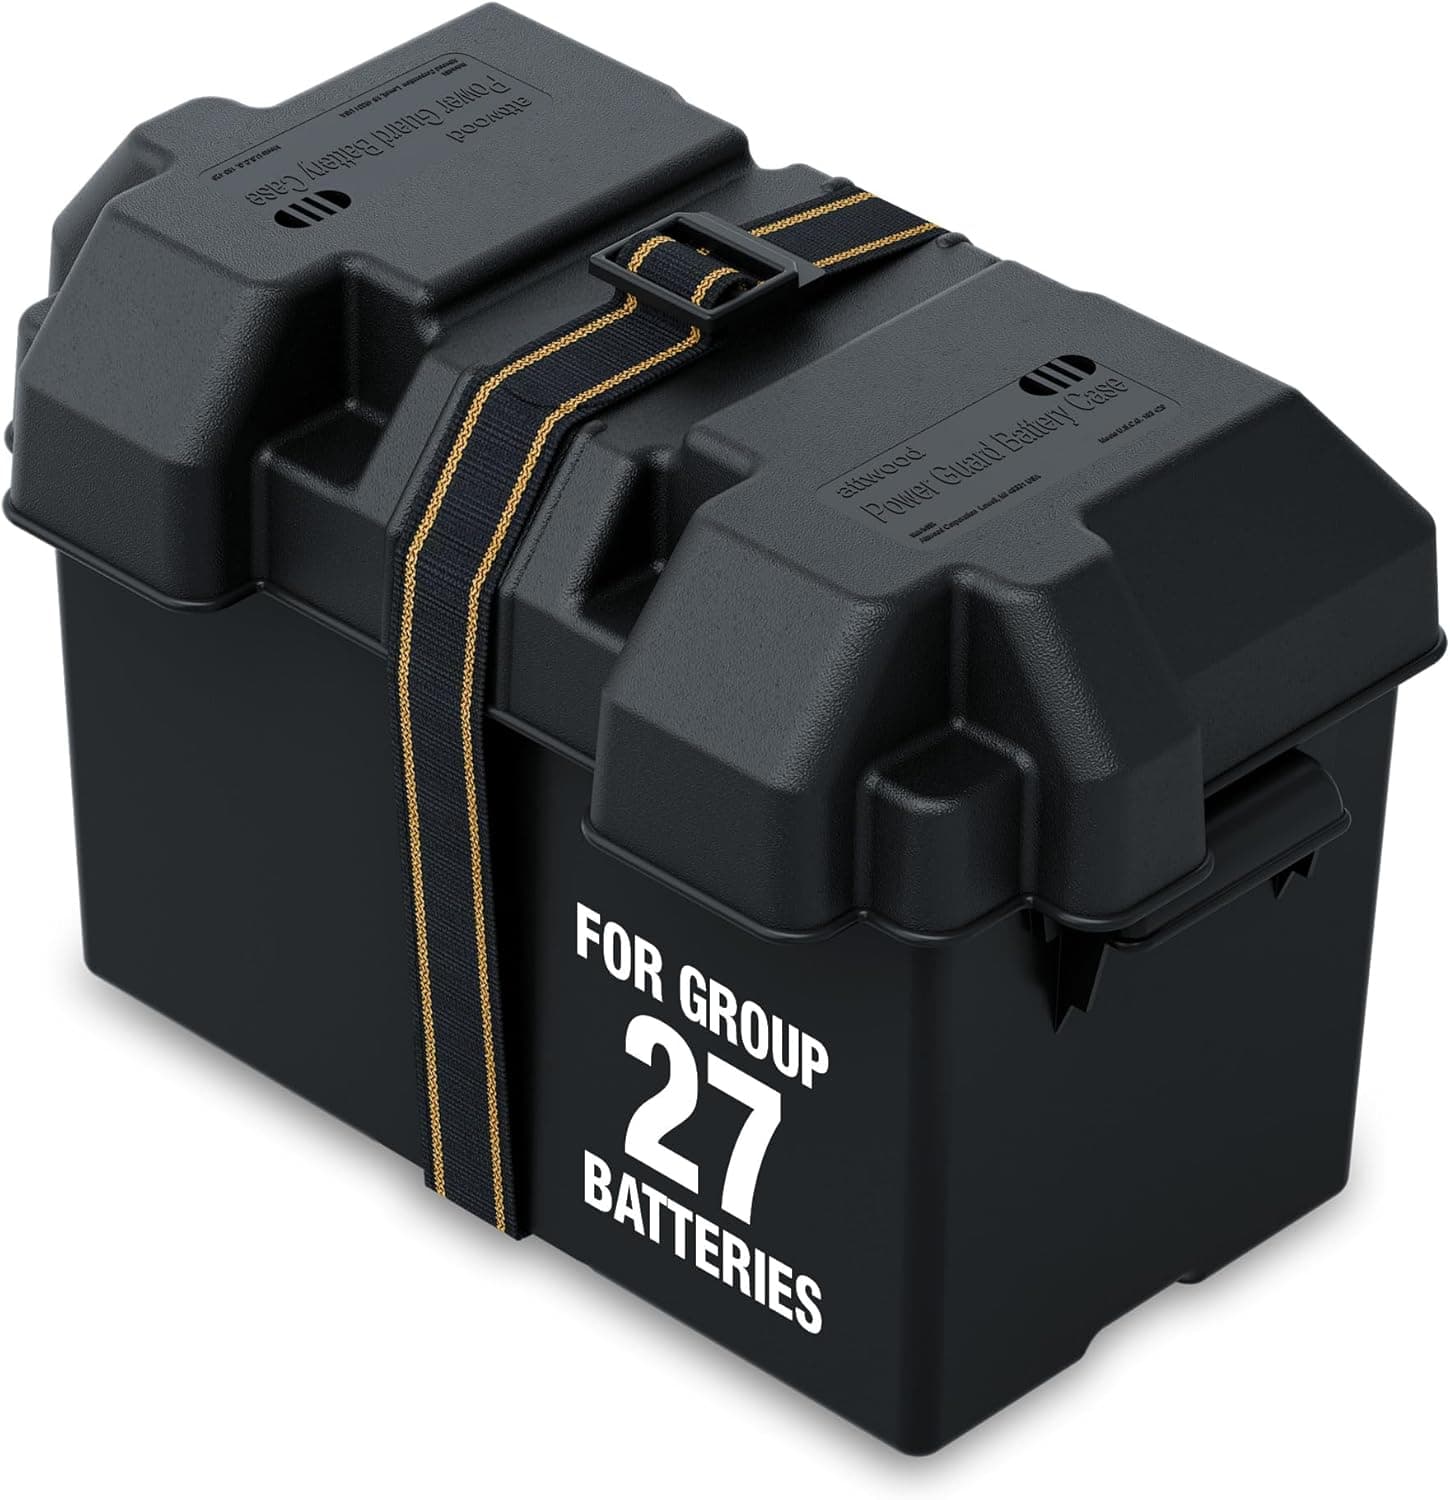 View on Amazon
Plastic Battery Box
≈$30Budget Option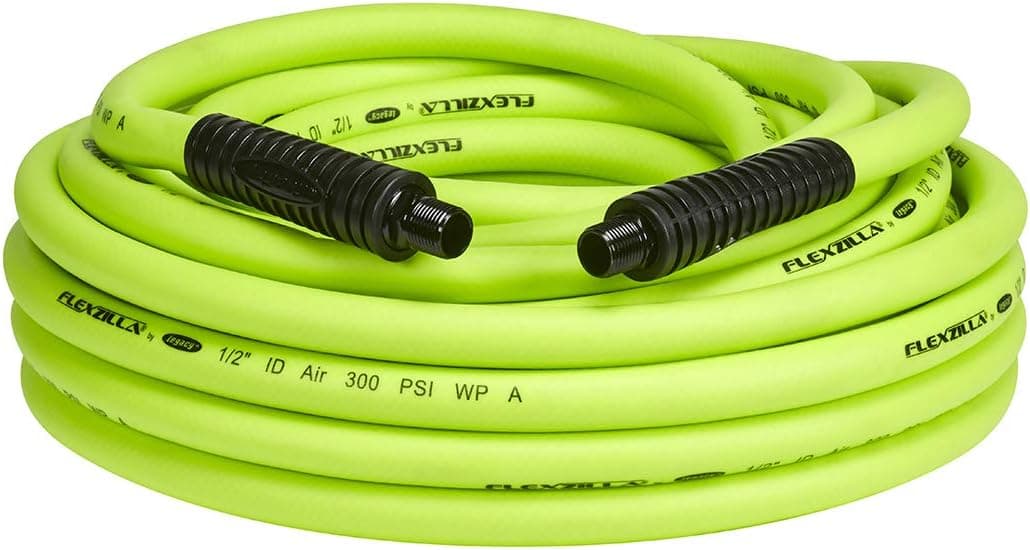 View on Amazon
Flexzilla 50-Foot, 1/2-Inch Hose
≈$45Compact Option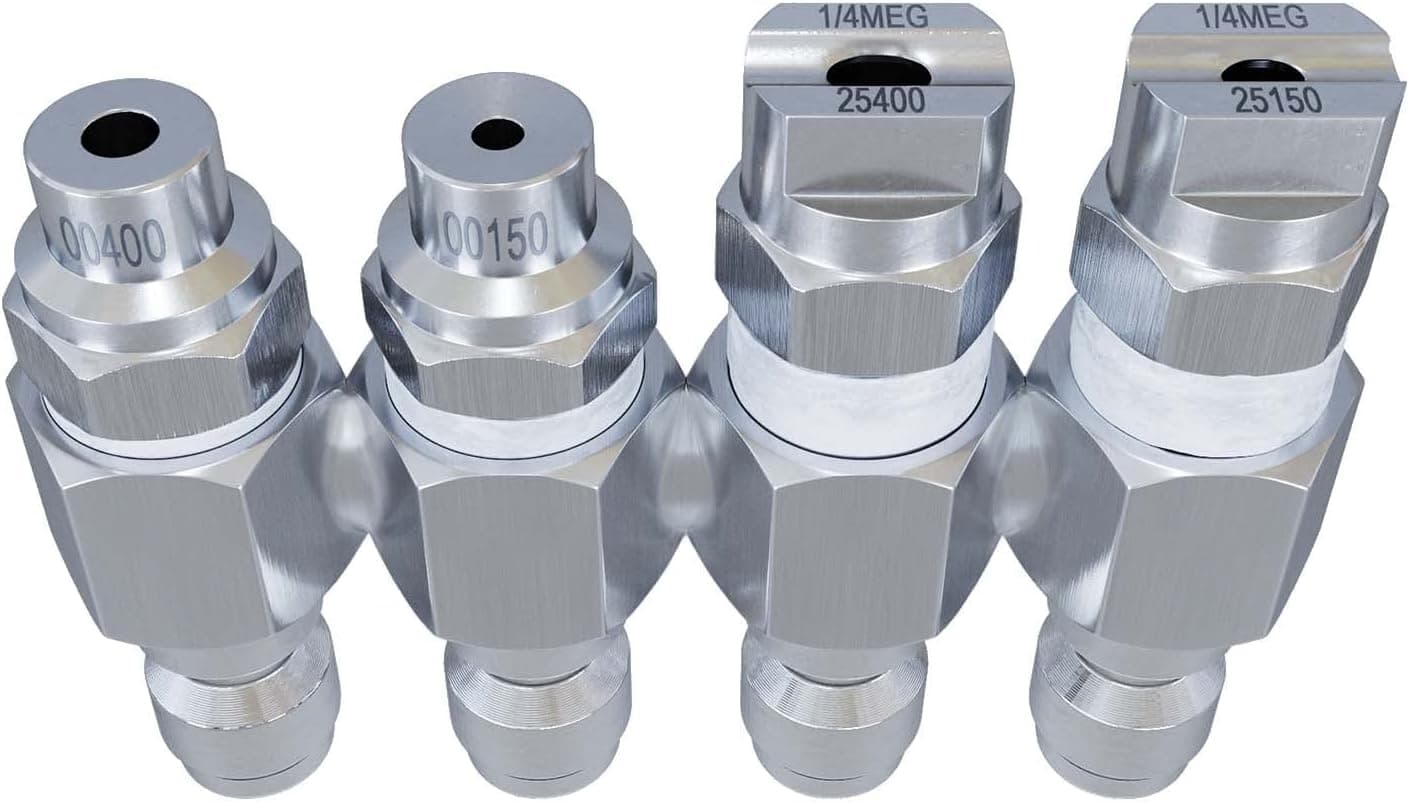 View on Amazon
5–6 GPM J-Rod
≈$40For the Vevor Build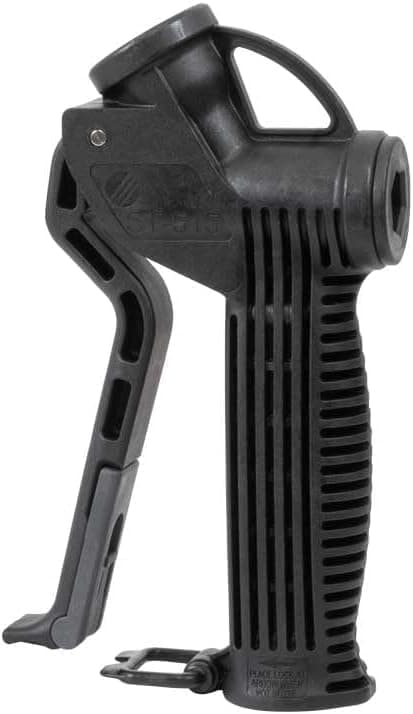 View on Amazon
Suttner ST-515 Gun
≈$25My Gun Setup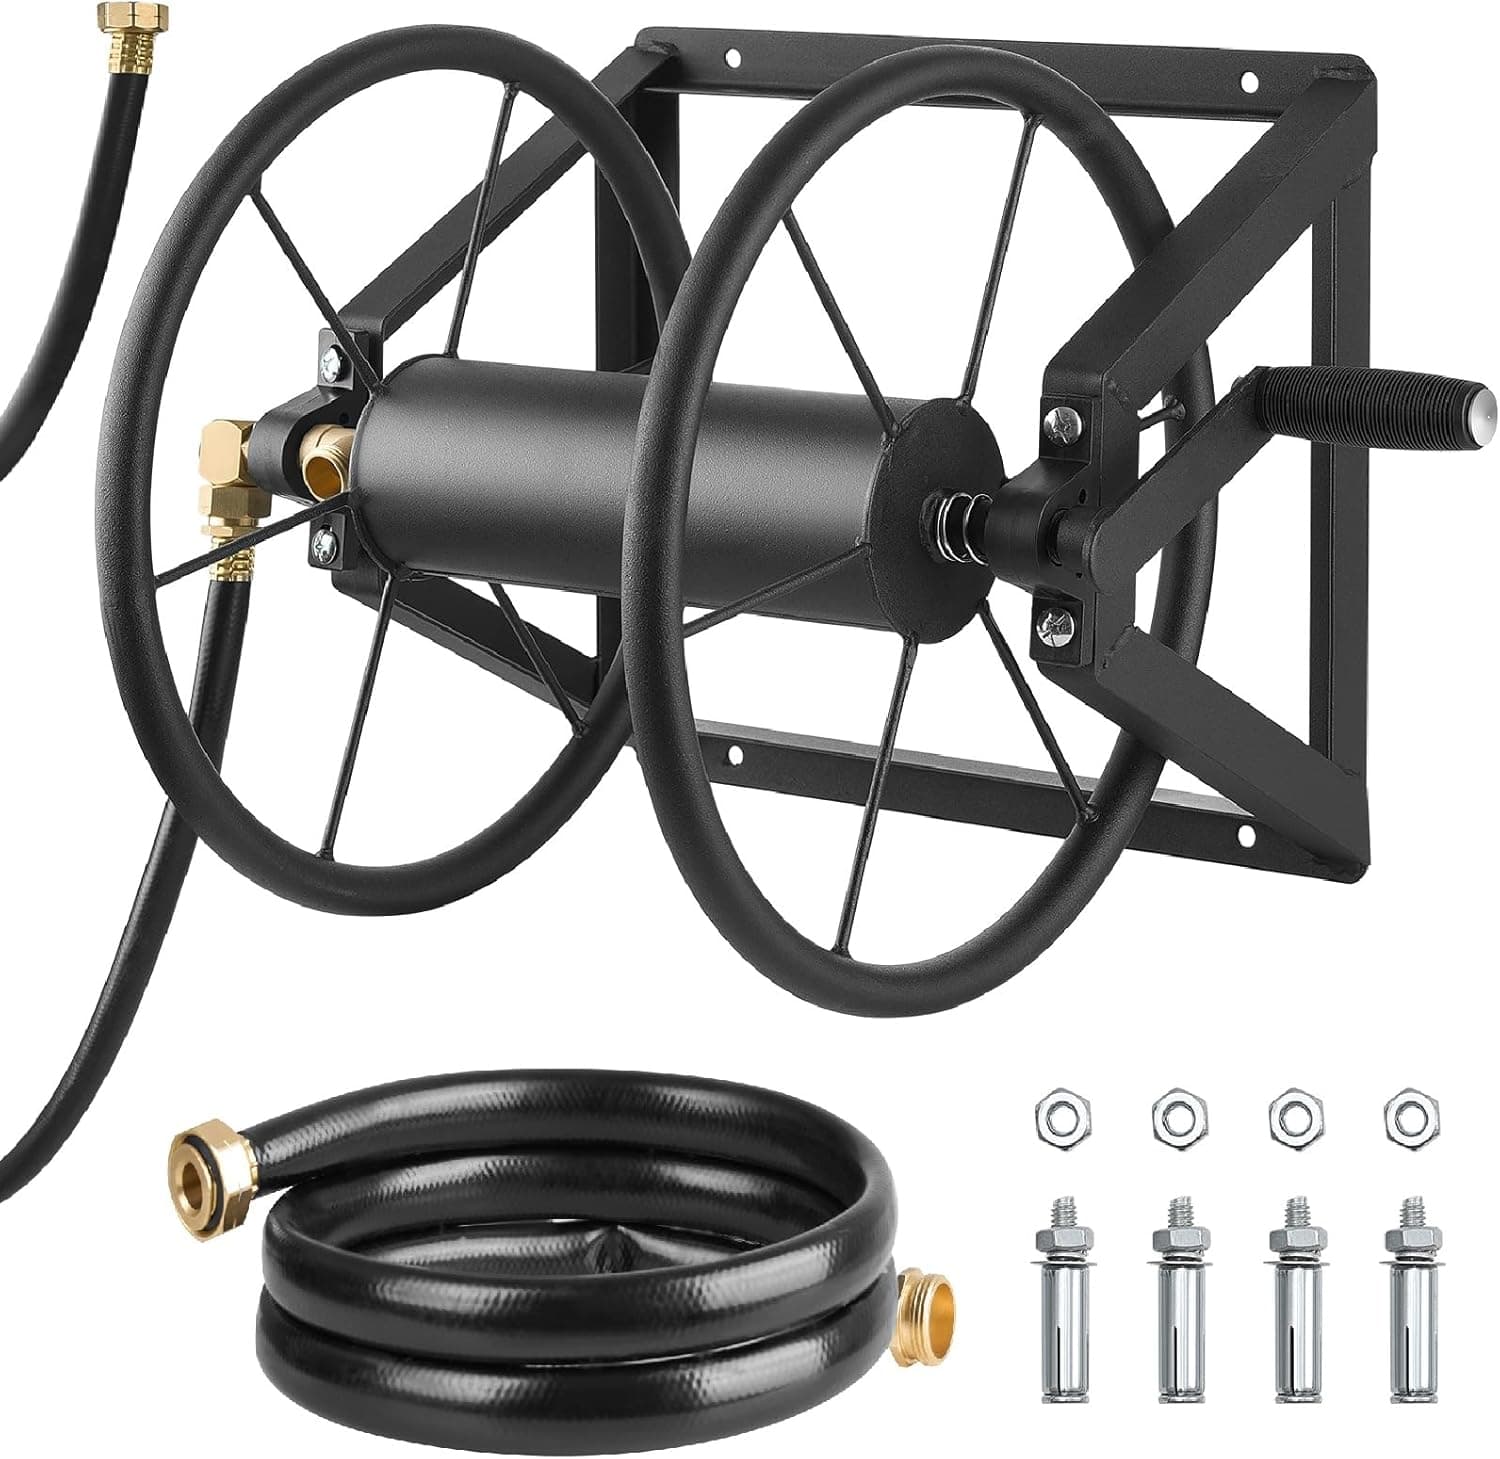 View on Amazon
VEVOR Storage Reel
≈$85OptionalVerify Fitment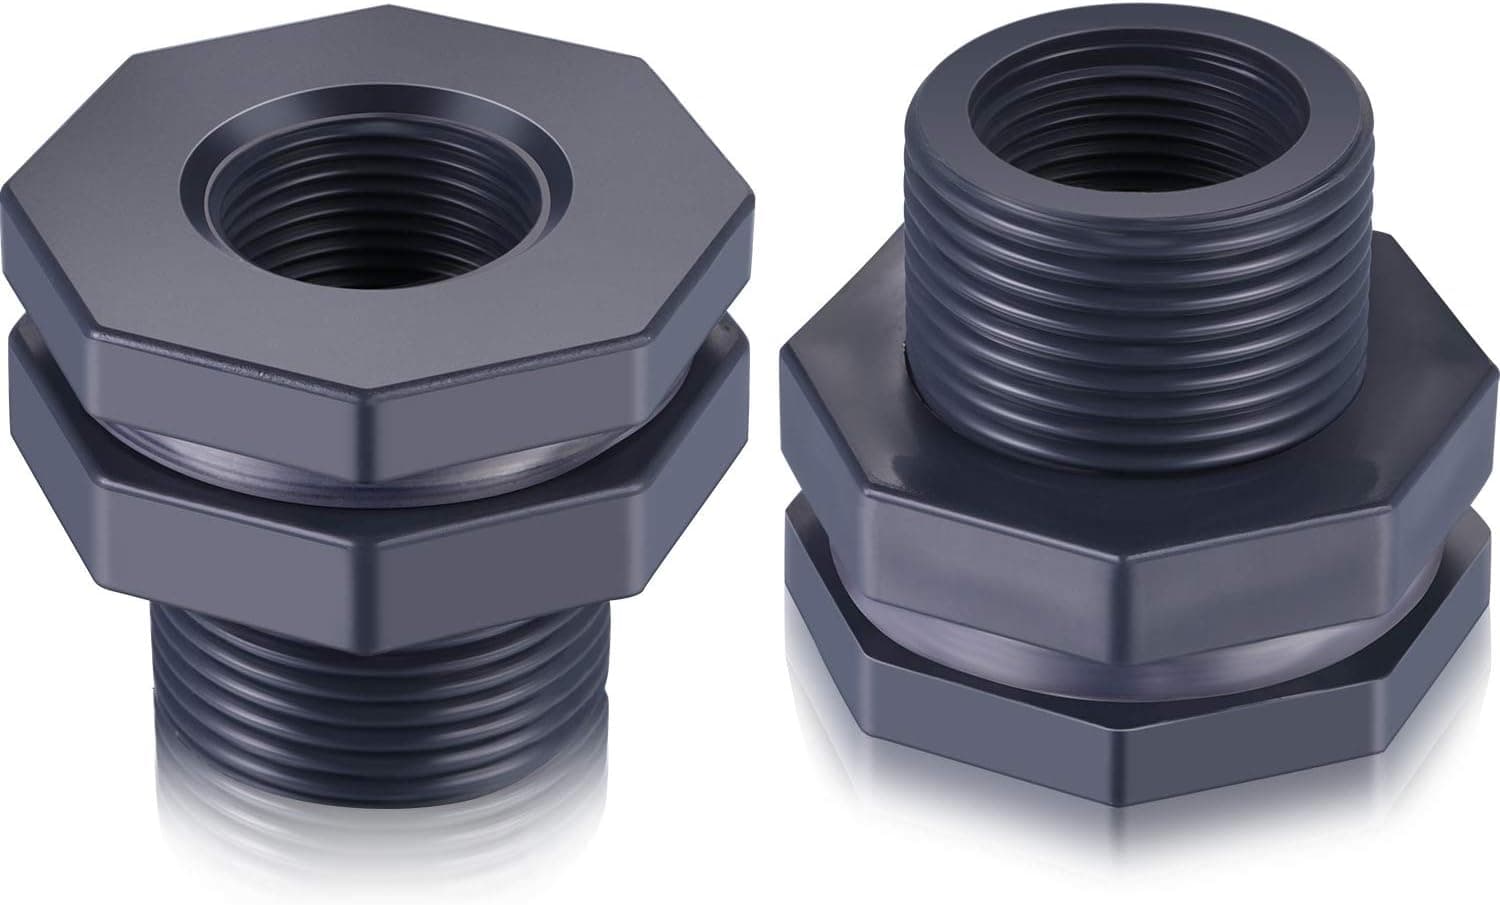 View on Amazon
3/4-Inch Bulkheads, 2 Pack
≈$6RequiredVerify Fitment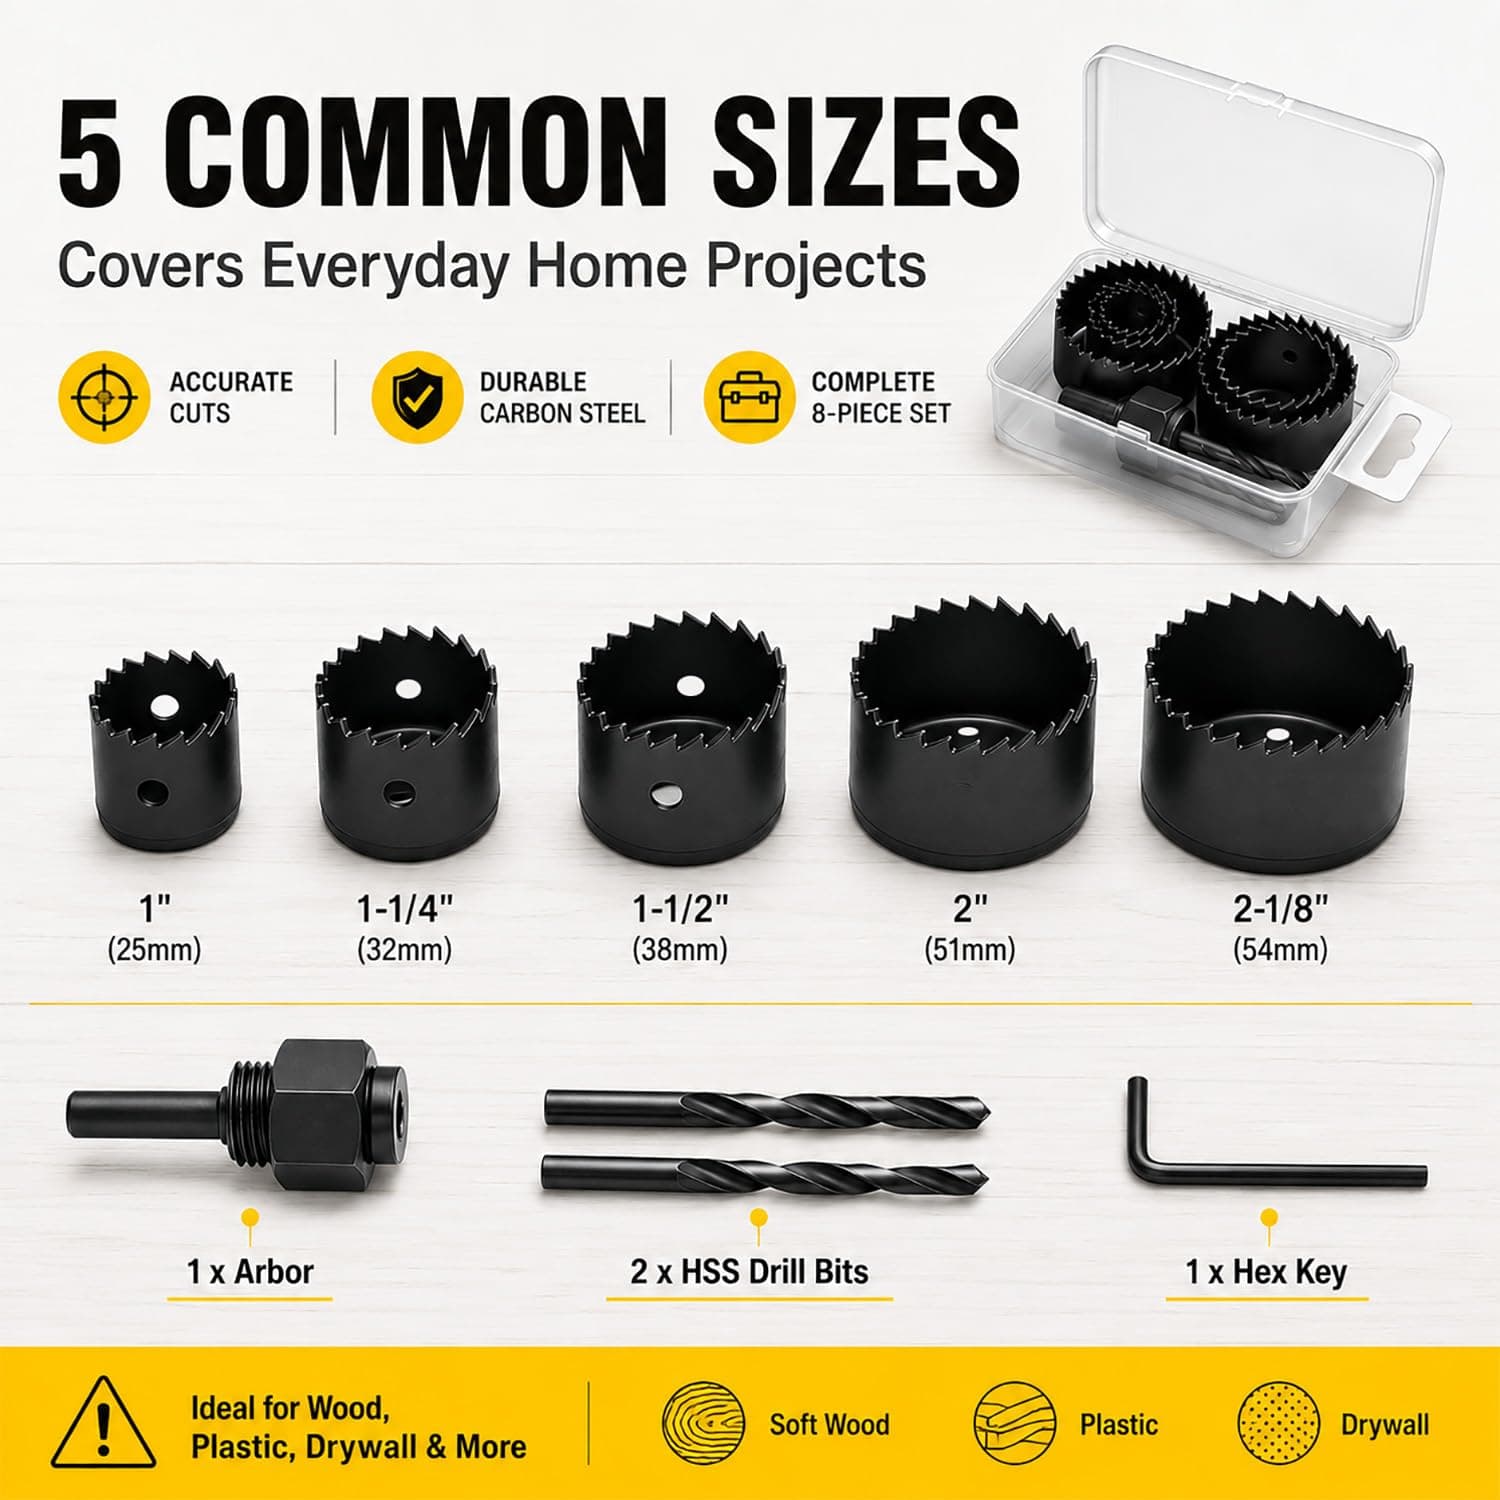 View on Amazon
Hole Saw Kit
≈$8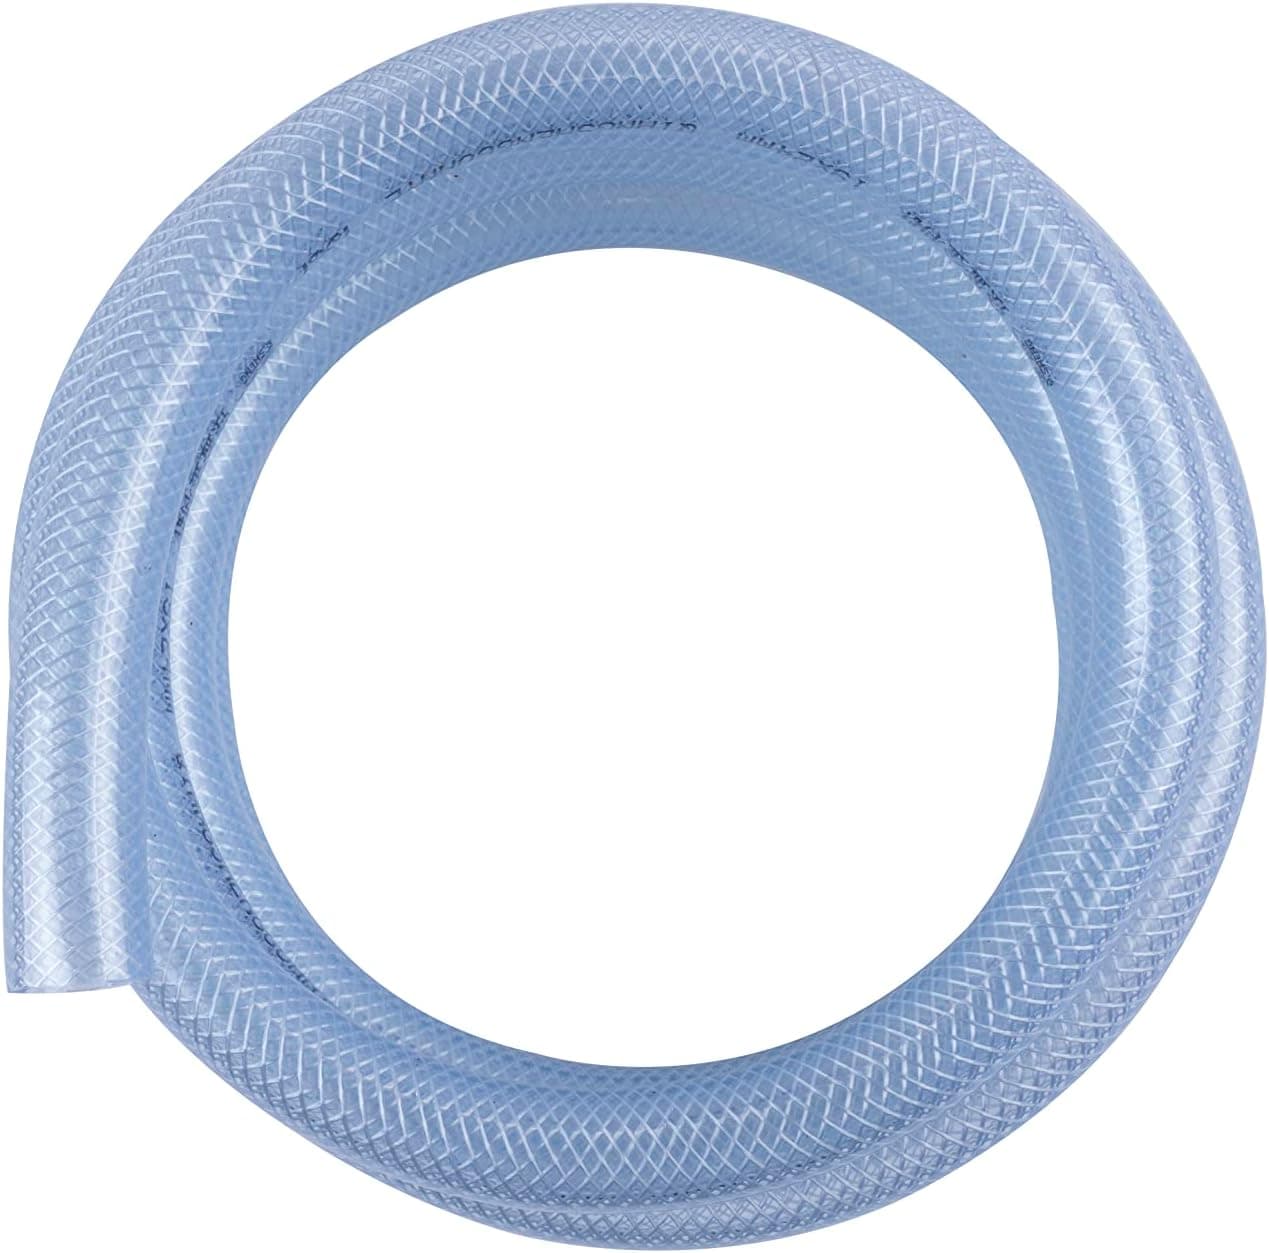 View on Amazon
3/4-Inch Braided Hose With Clamps
≈$15Required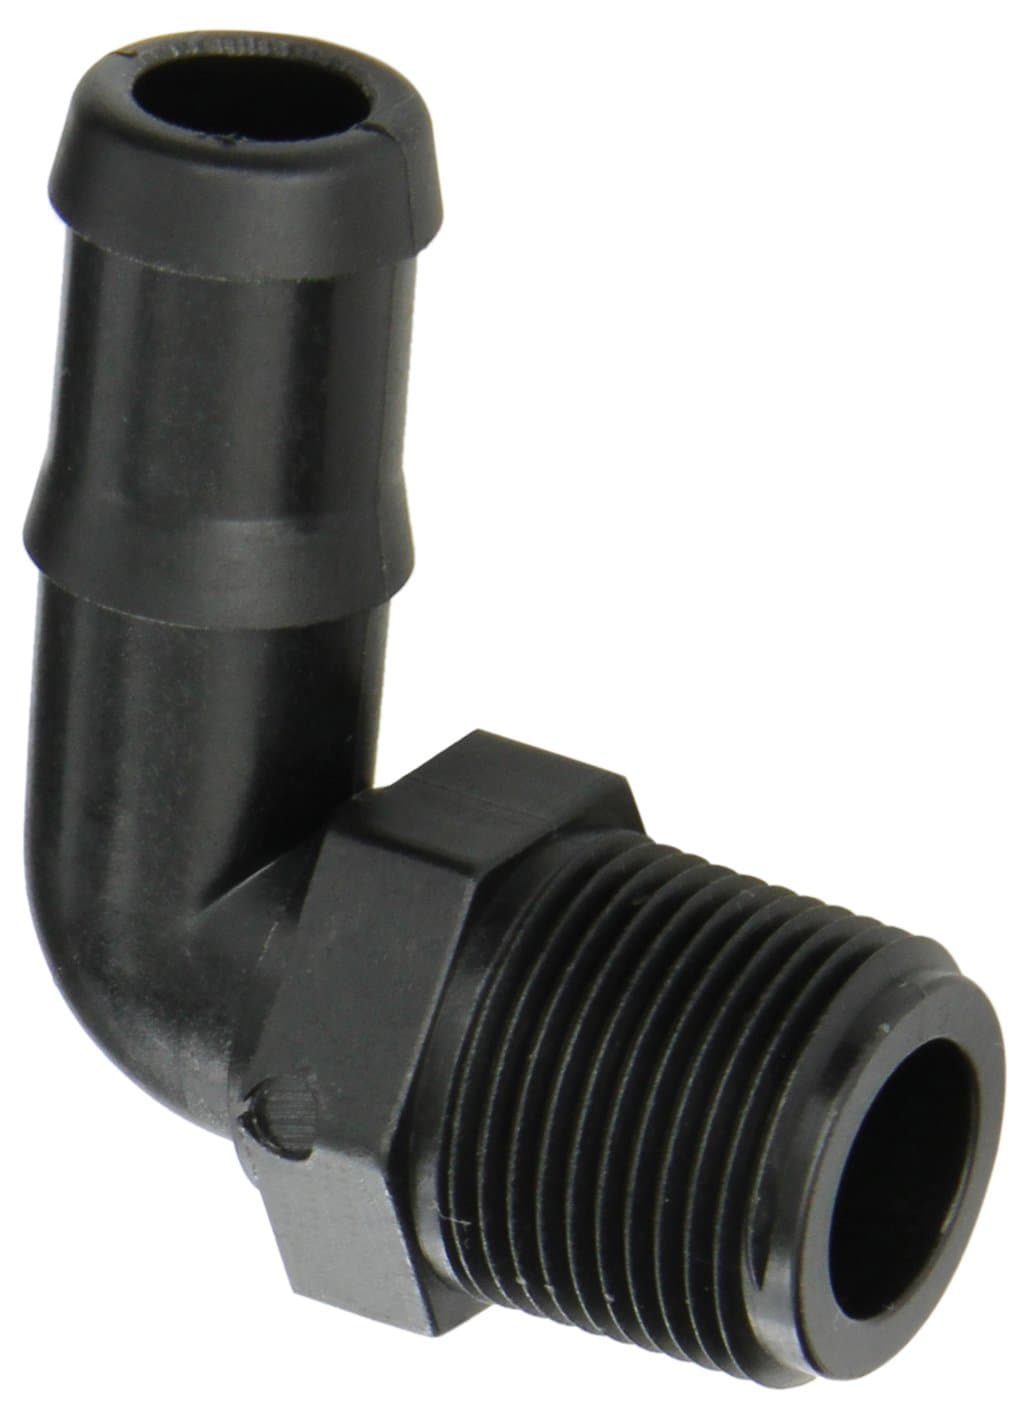 View on Amazon
3/4-Inch Male NPT to 3/4-Inch Barb, 90-Degree Banjo
≈$4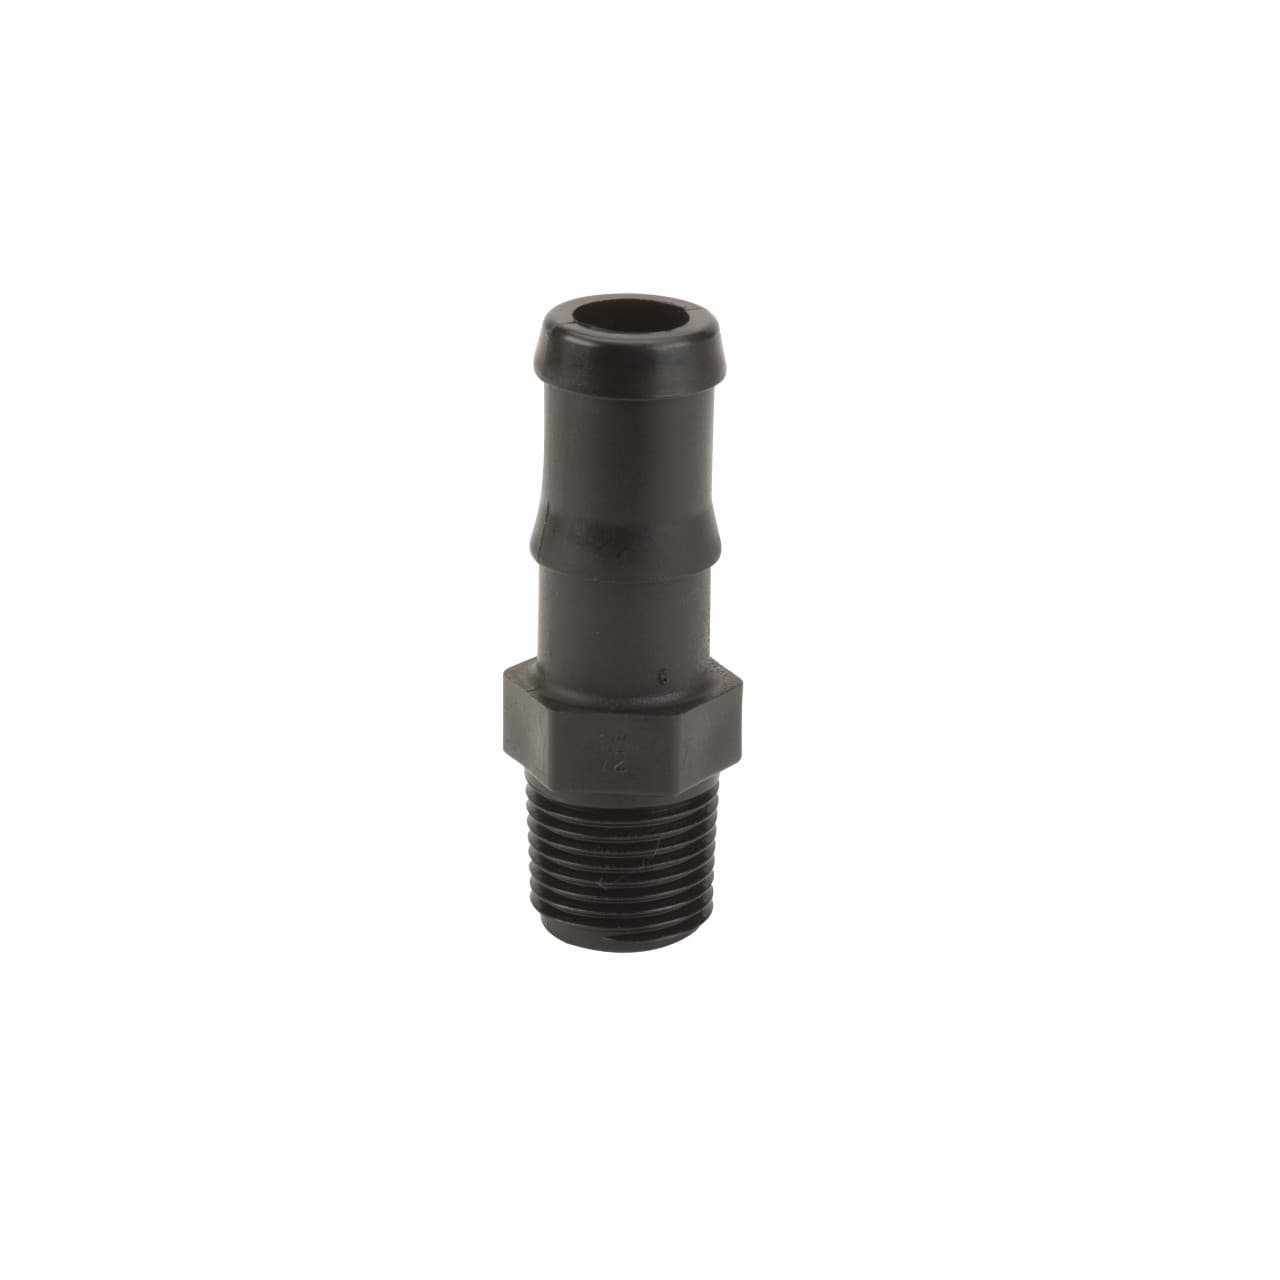 View at US Plastic
1/2-Inch Male NPT to 3/4-Inch Barb
≈$1.70 + shippingNon-AmazonVerify Fitment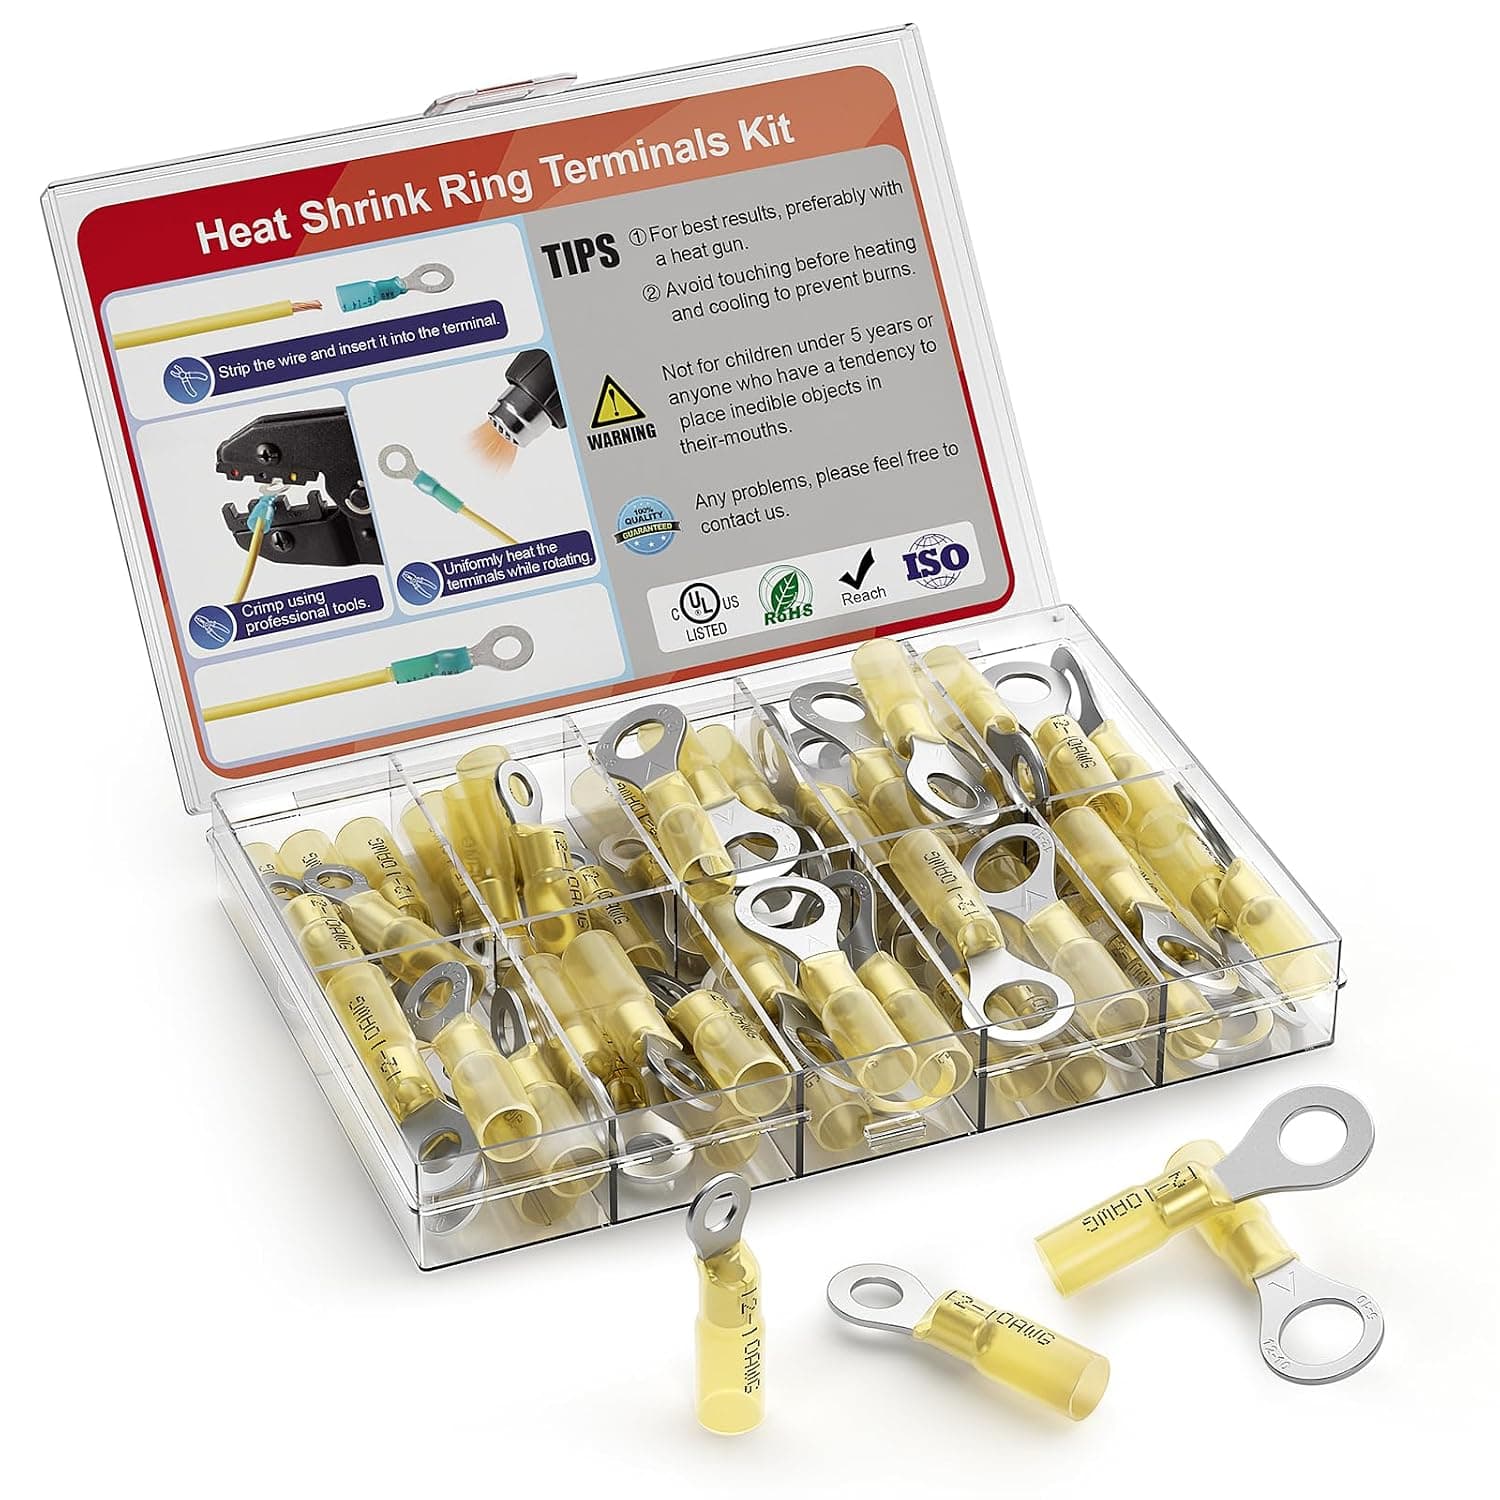 View on Amazon
Heat-Shrink Ring Terminal Kit
≈$10Required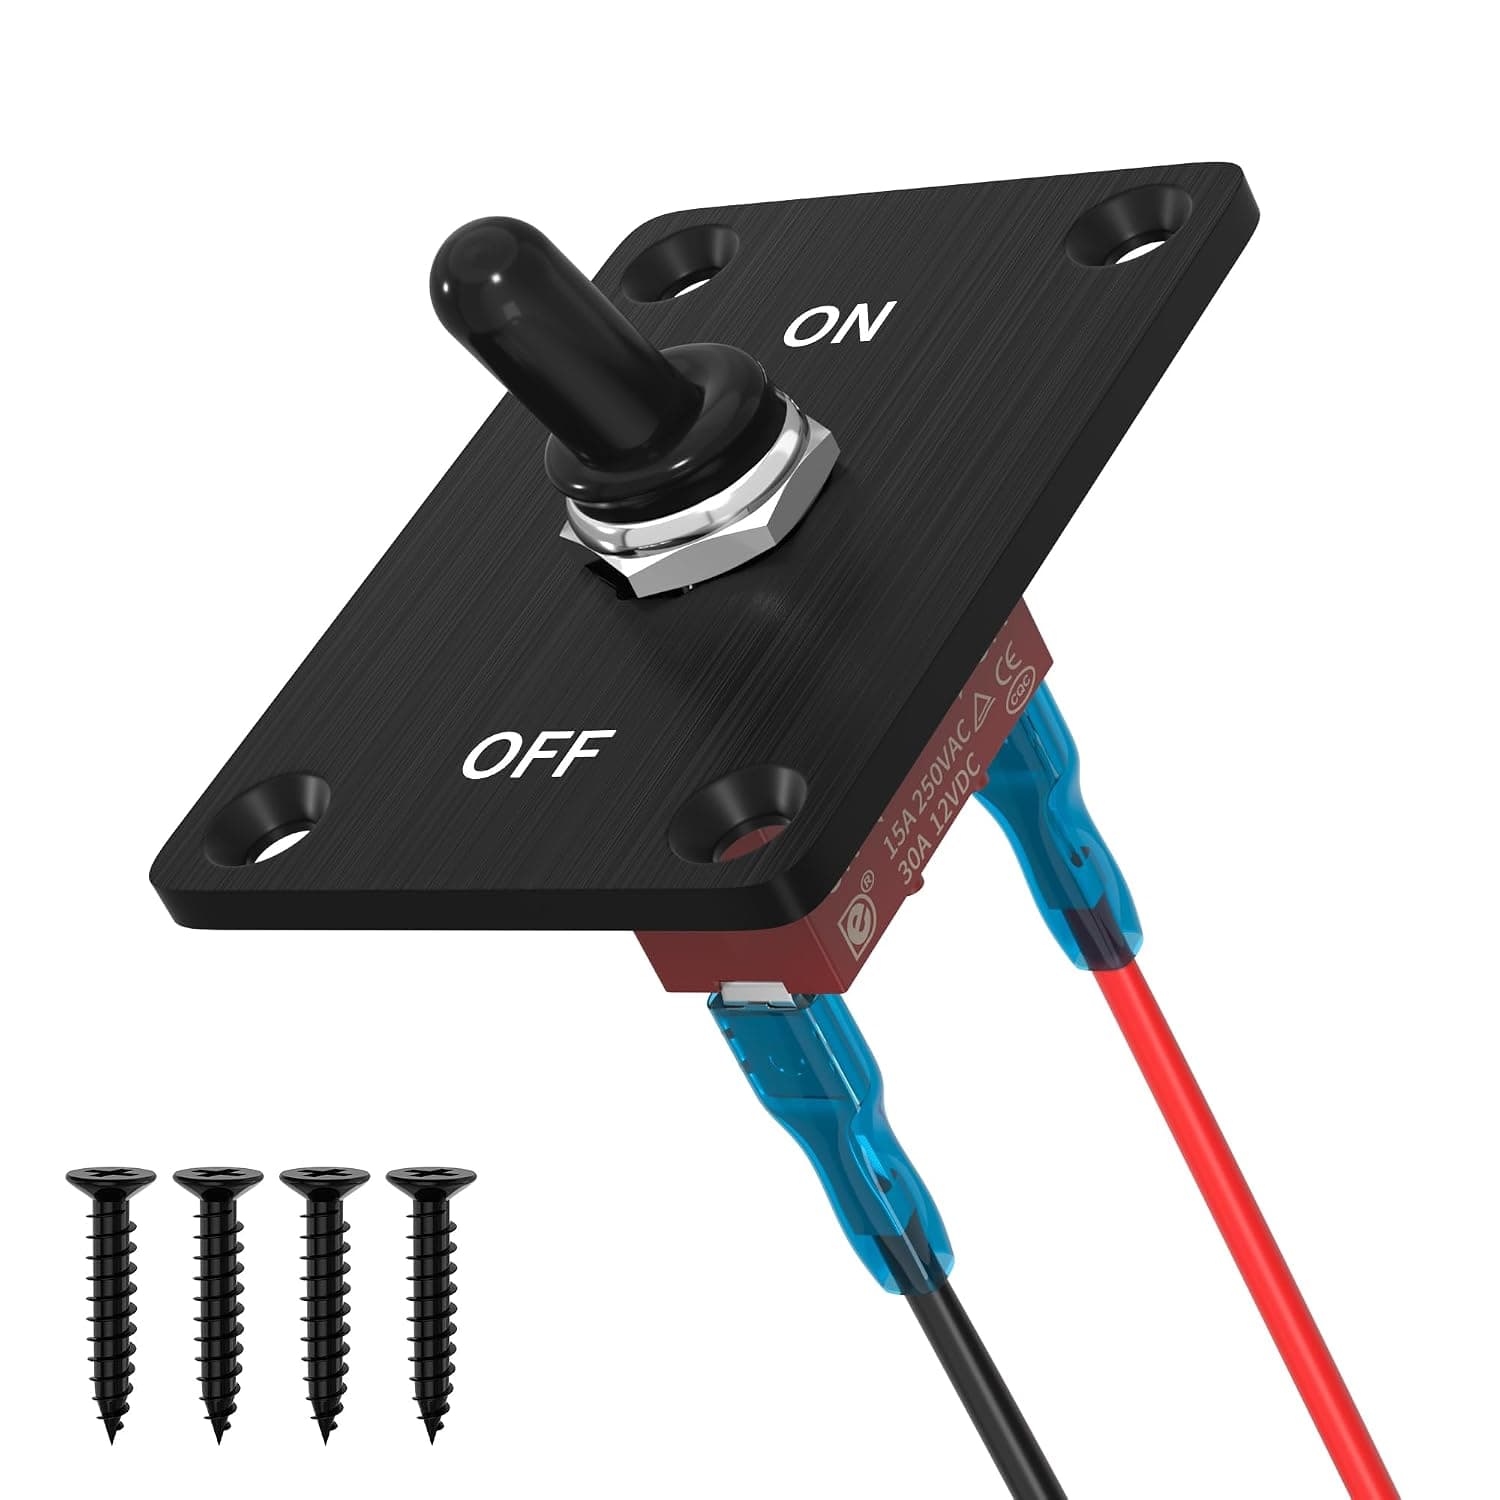 View on Amazon
Battery Box On/Off Switch
≈$13Verify Fitment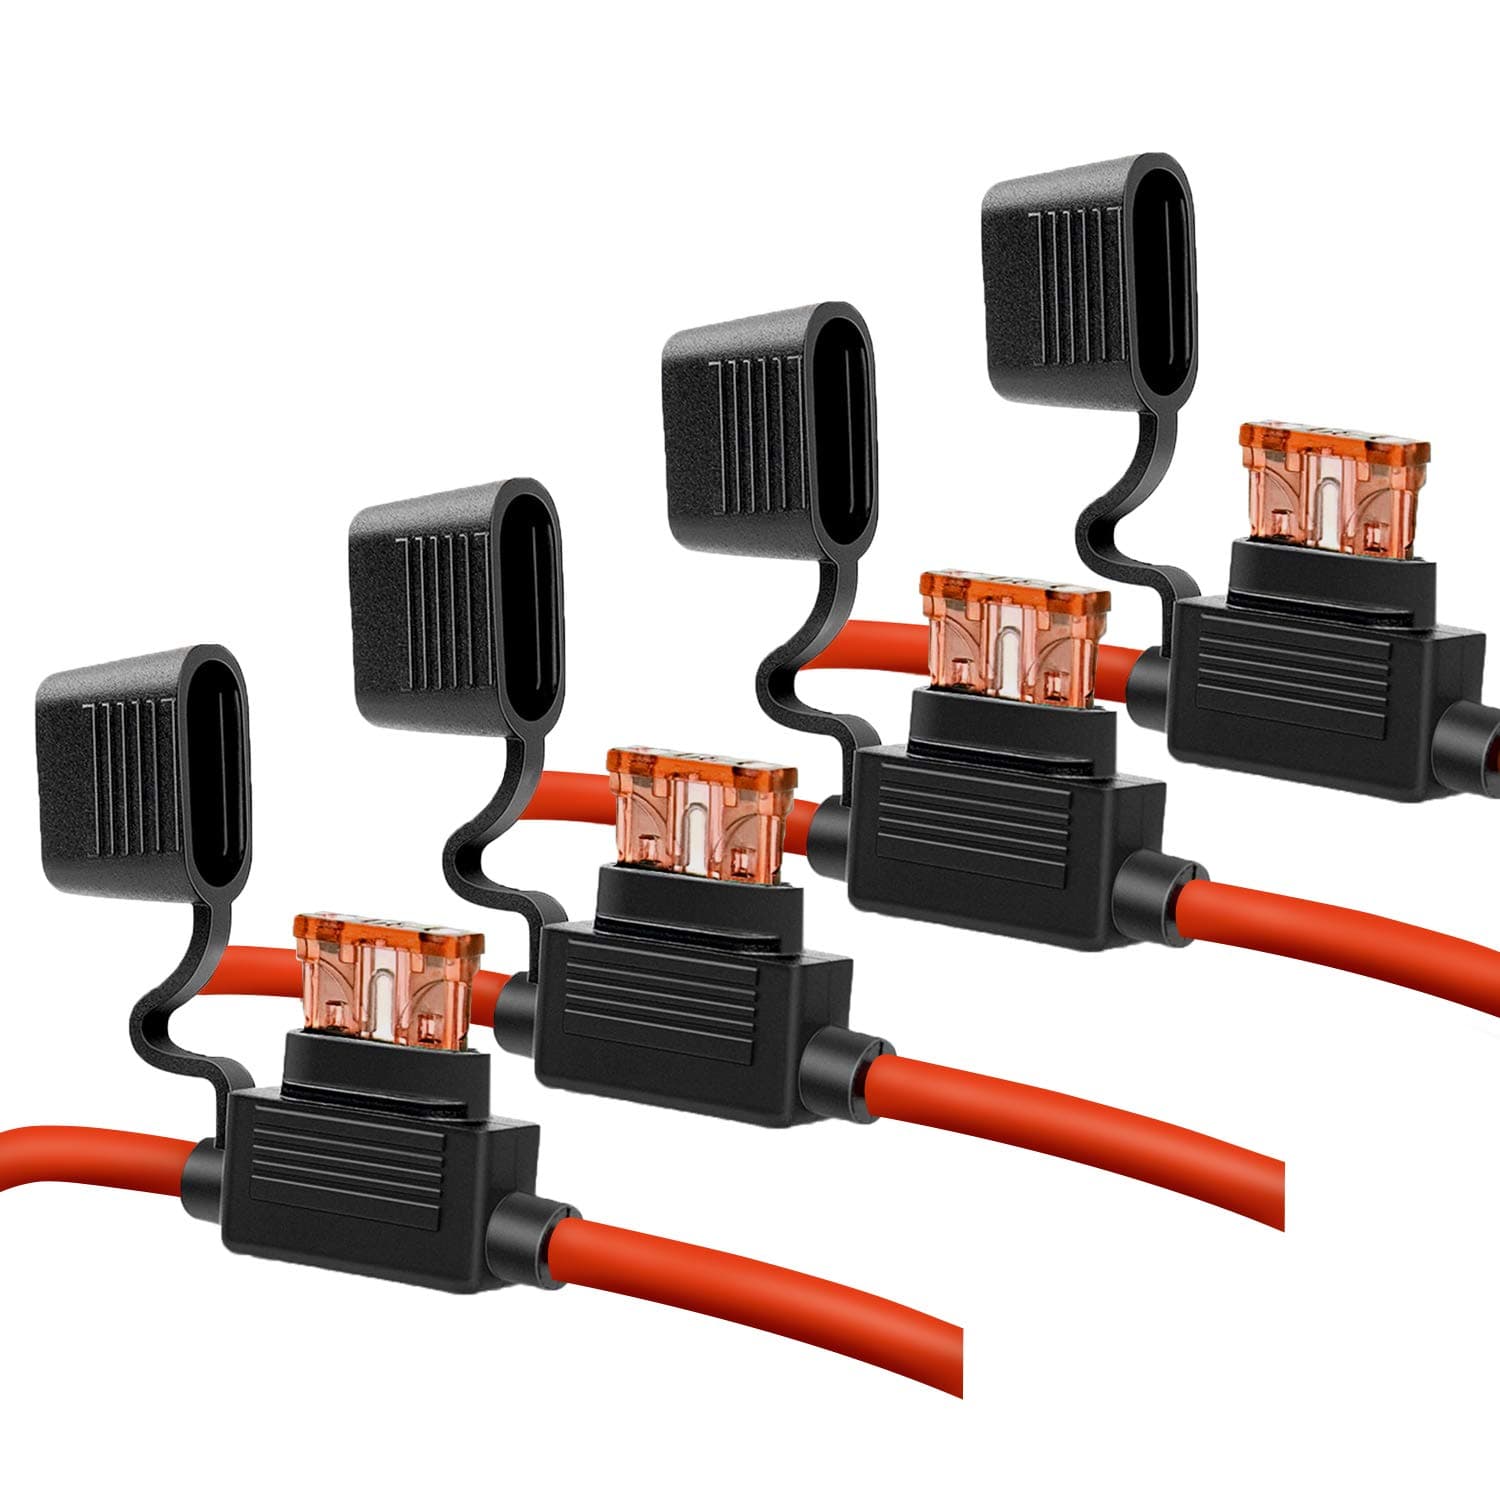 View on Amazon
10-Gauge Inline Fuse Holder Kit
≈$10Required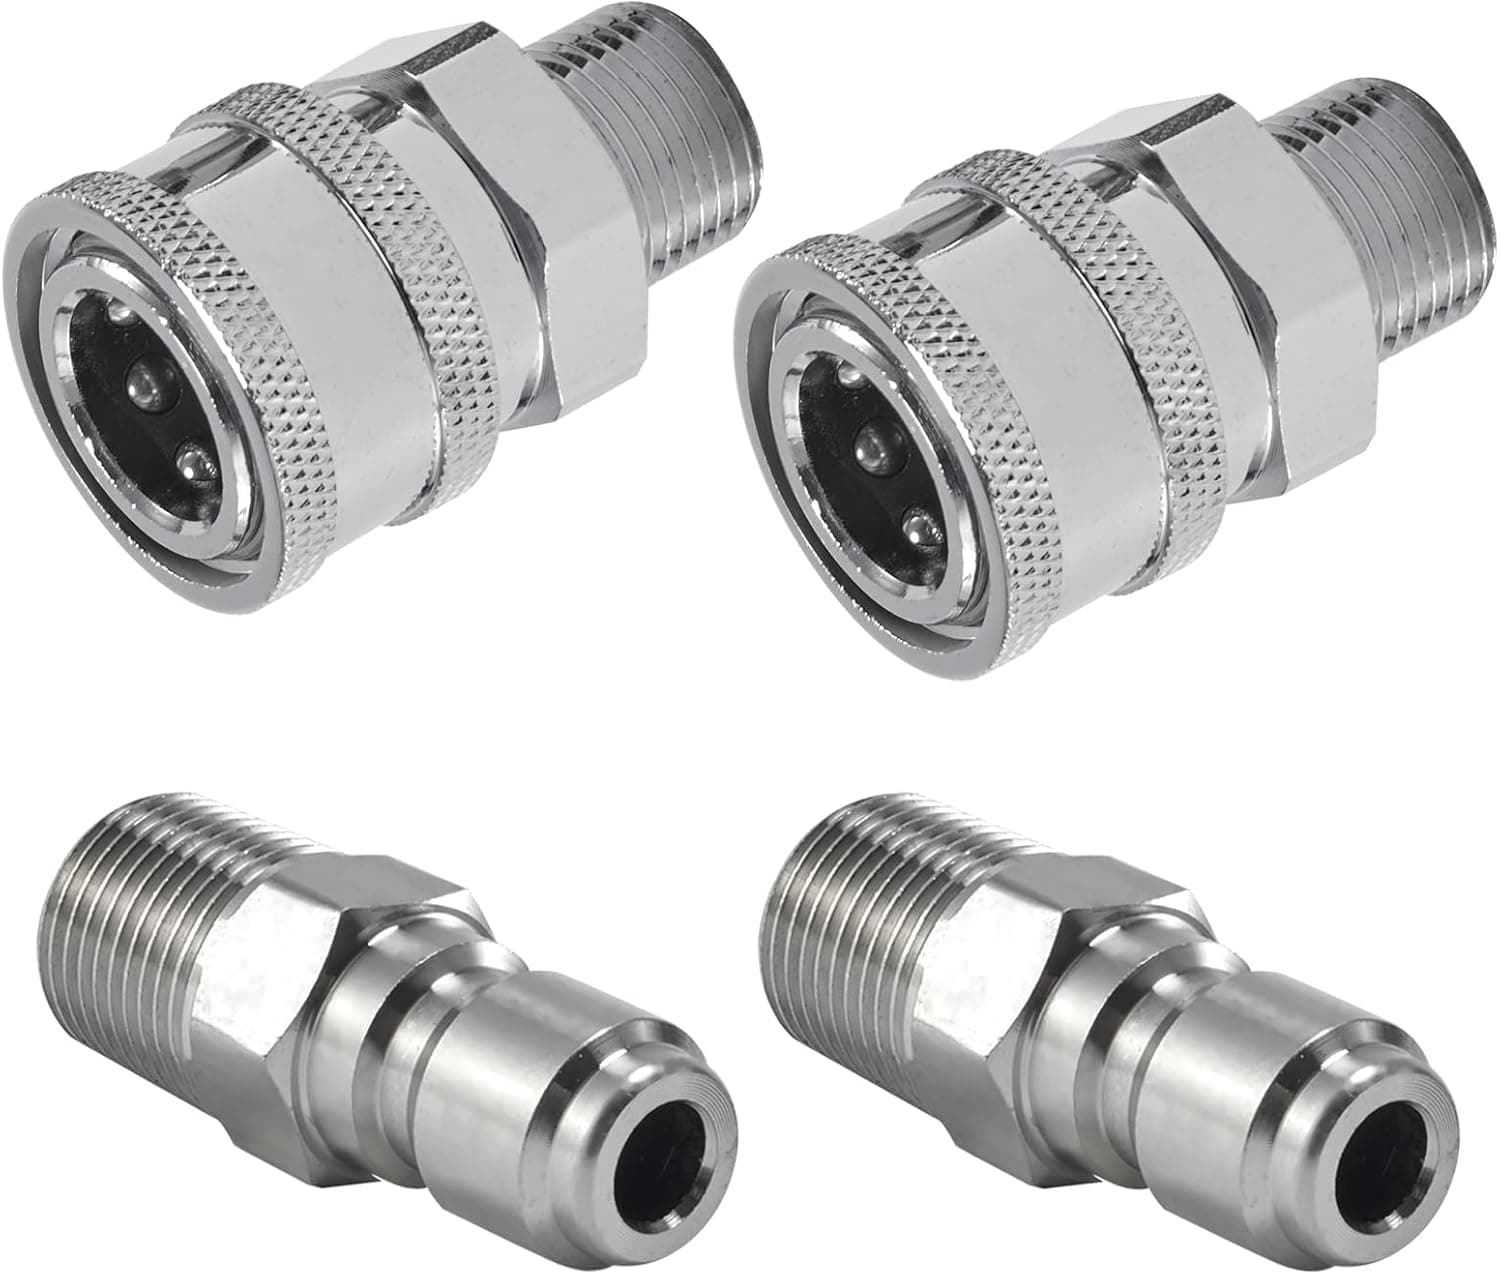 View on Amazon
3/8-Inch Male NPT Quick-Connect Kit
≈$15Verify Fitment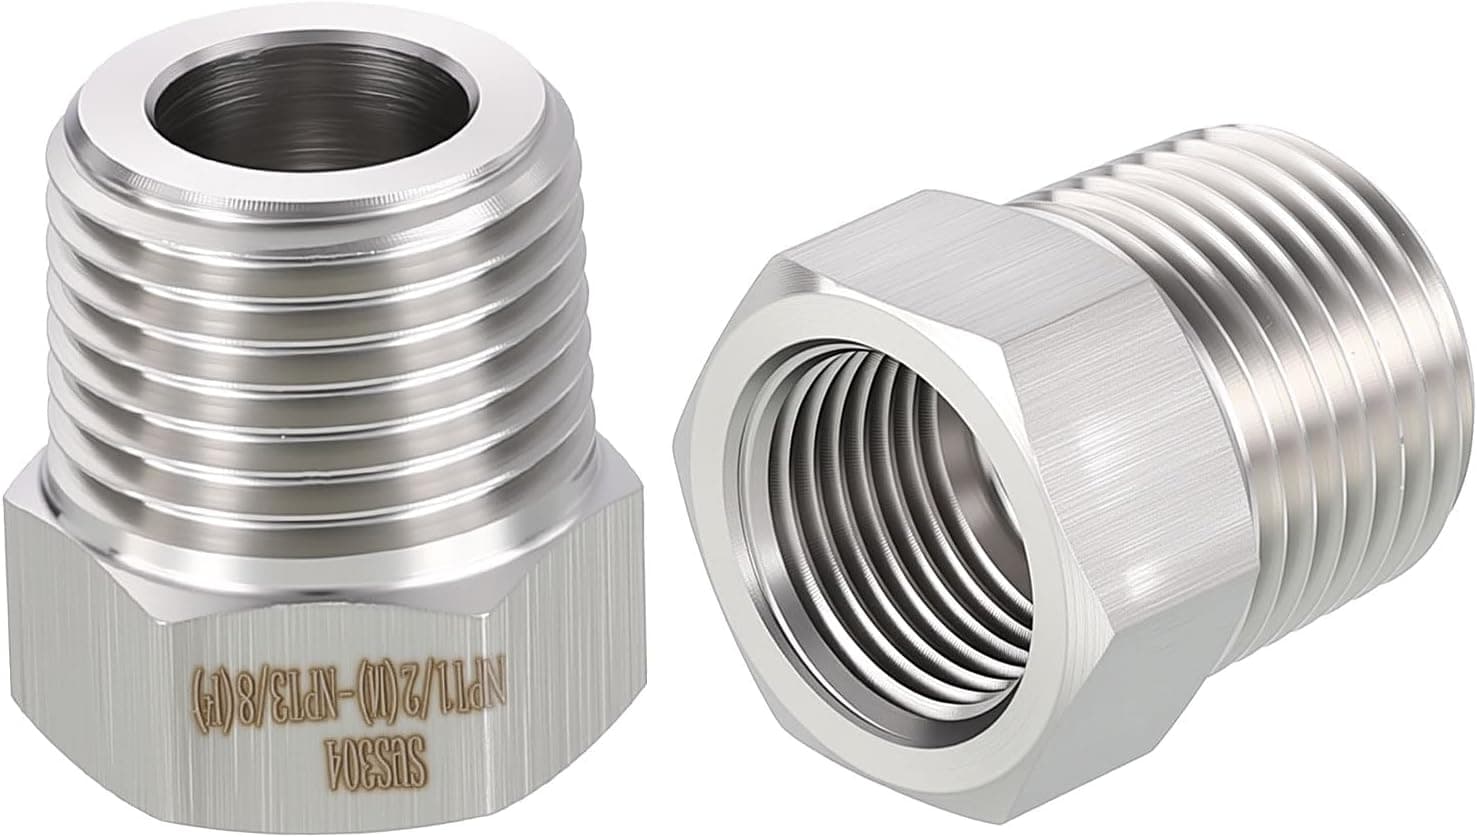 View on Amazon
1/2-Inch Male NPT to 3/8-Inch Female Reducer, 2 Pack
≈$8Verify Fitment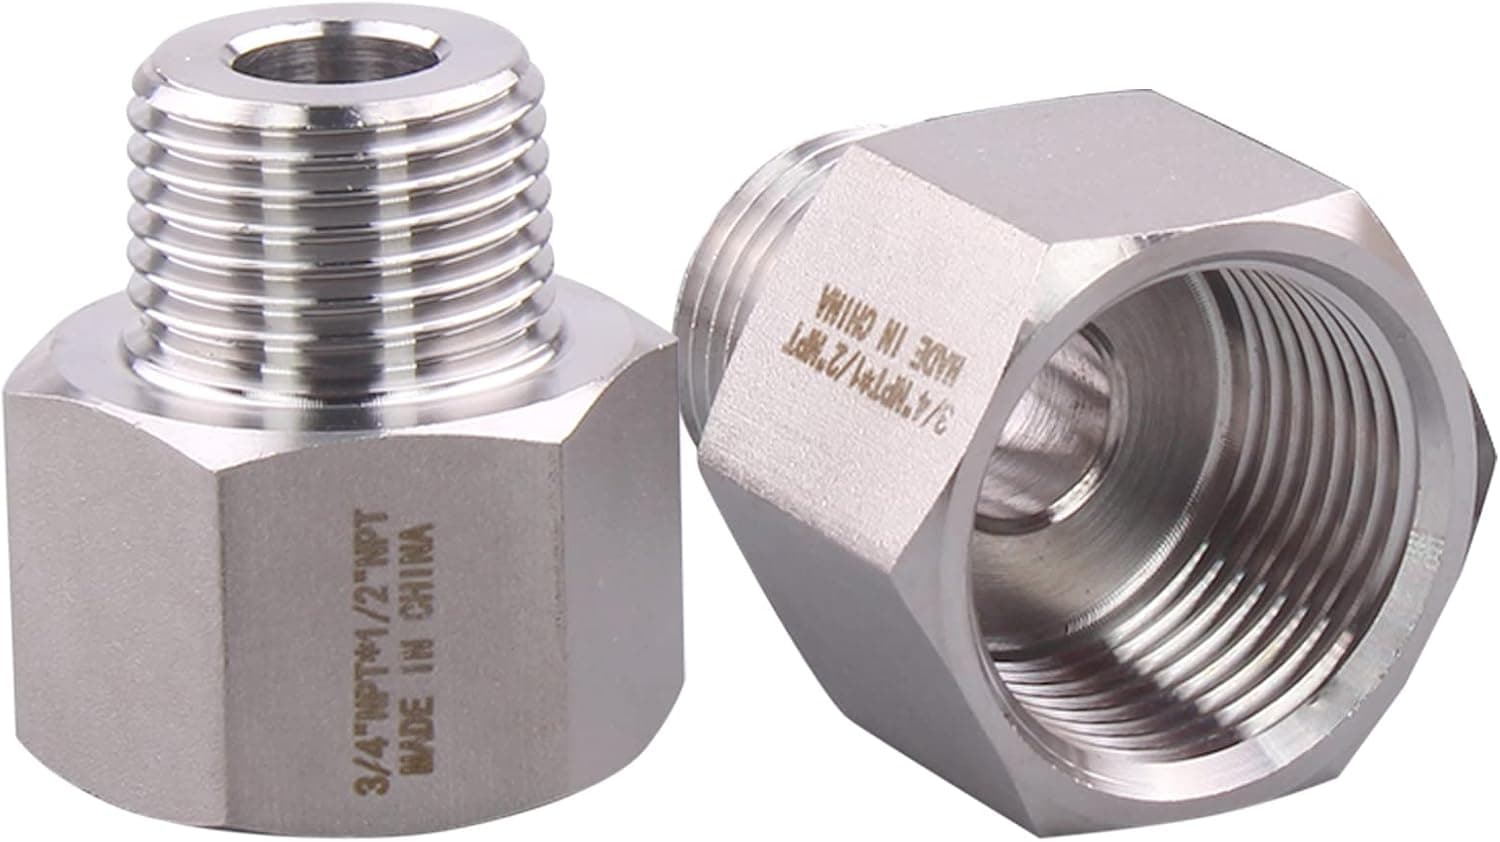 View on Amazon
3/4-Inch Female NPT to 1/2-Inch Male NPT
≈$14Verify Fitment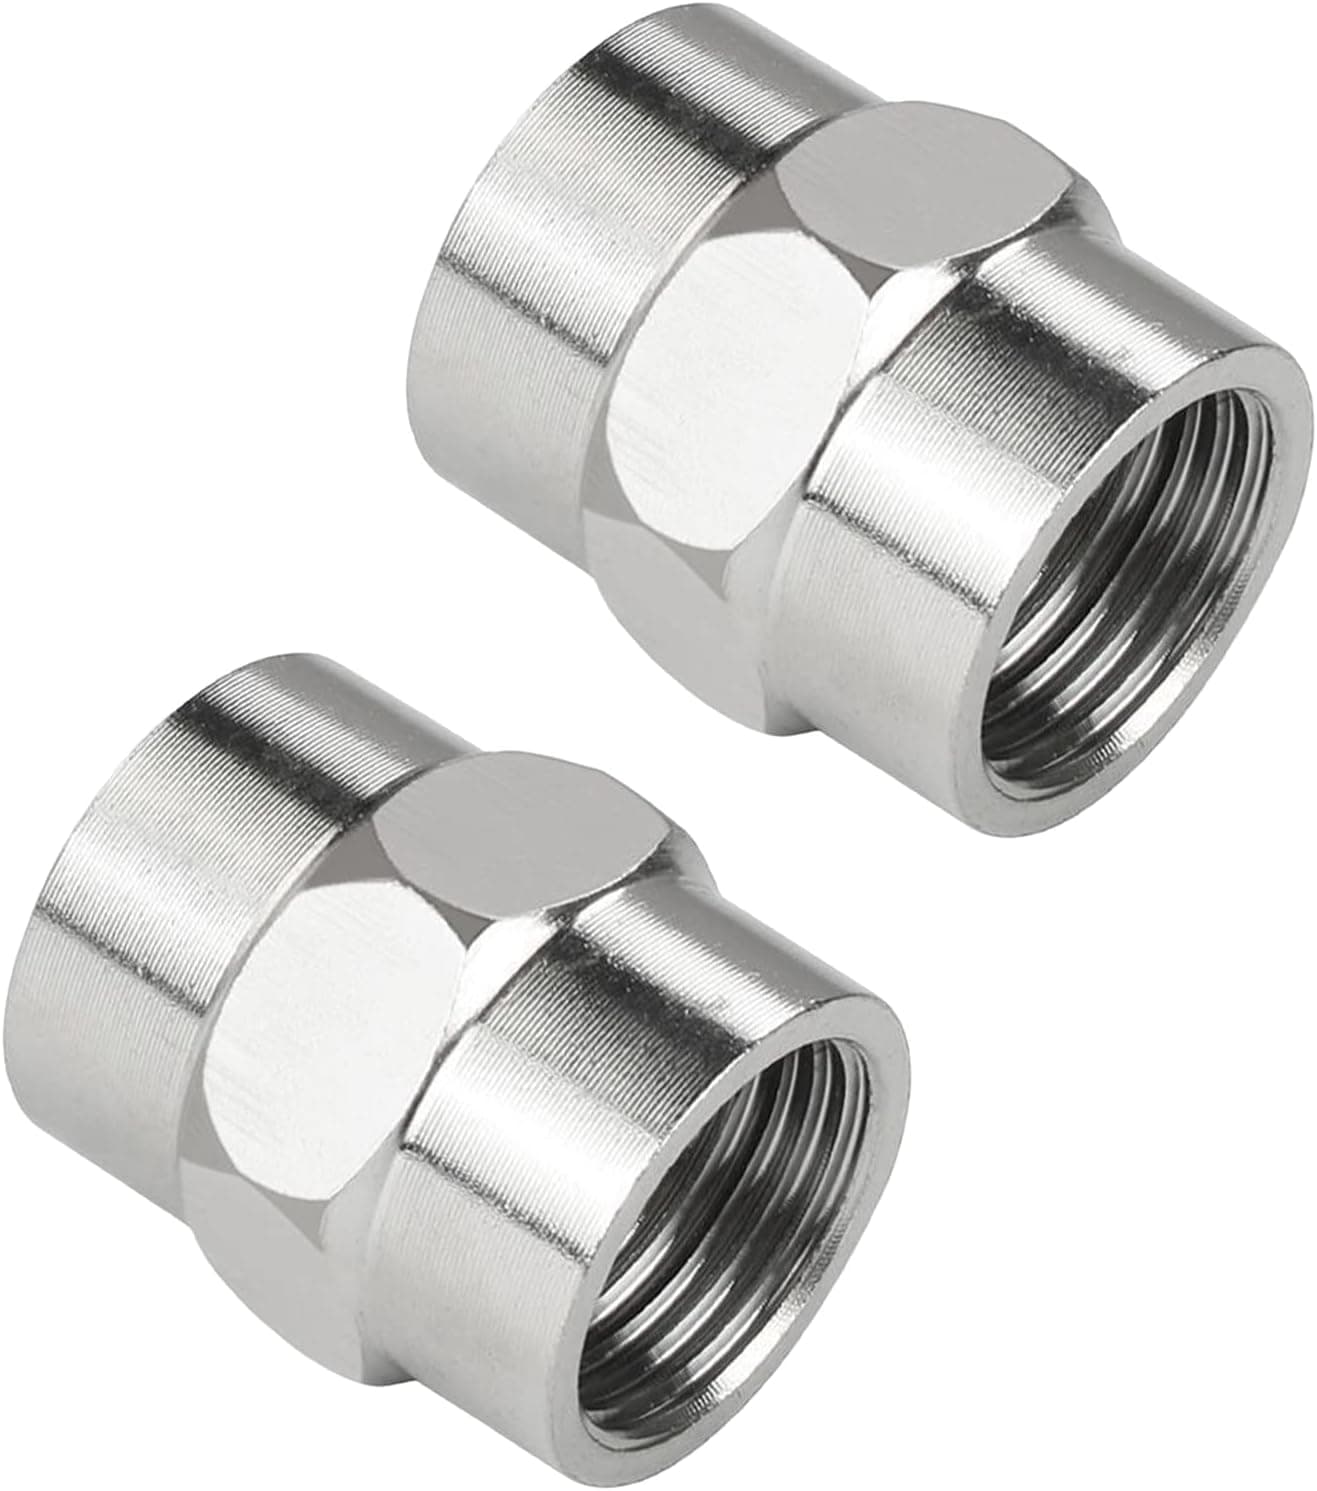 View on Amazon
1/2-Inch Female NPT to 1/2-Inch Female NPT
≈$7Verify Fitment
Total is calculated from the approximate component prices listed on this page. It does not include tax, shipping, mounting hardware, extra wiring, thread sealant, or chemical. Prices change — click through each item to confirm current pricing.
Choose Your Pump
The pump is the heart of the system and the first real decision. Both of these are 12V demand pumps — they run off the battery and build pressure when you pull the trigger.
VEVOR 5 GPM 12V Pump
This is the inexpensive way I’d test the waters. Five gallons per minute is enough to wash houses, apply roof mix, and learn how a dedicated soft wash system works without putting a lot of money into the pump.
- Pair it with the 5–6 GPM J-Rod so your nozzles match the flow.
- Good fit for a beginner or as a backup system on the trailer.
- Be realistic about durability — this is not built like the Remco. Treat it as a starting point, not a forever pump.
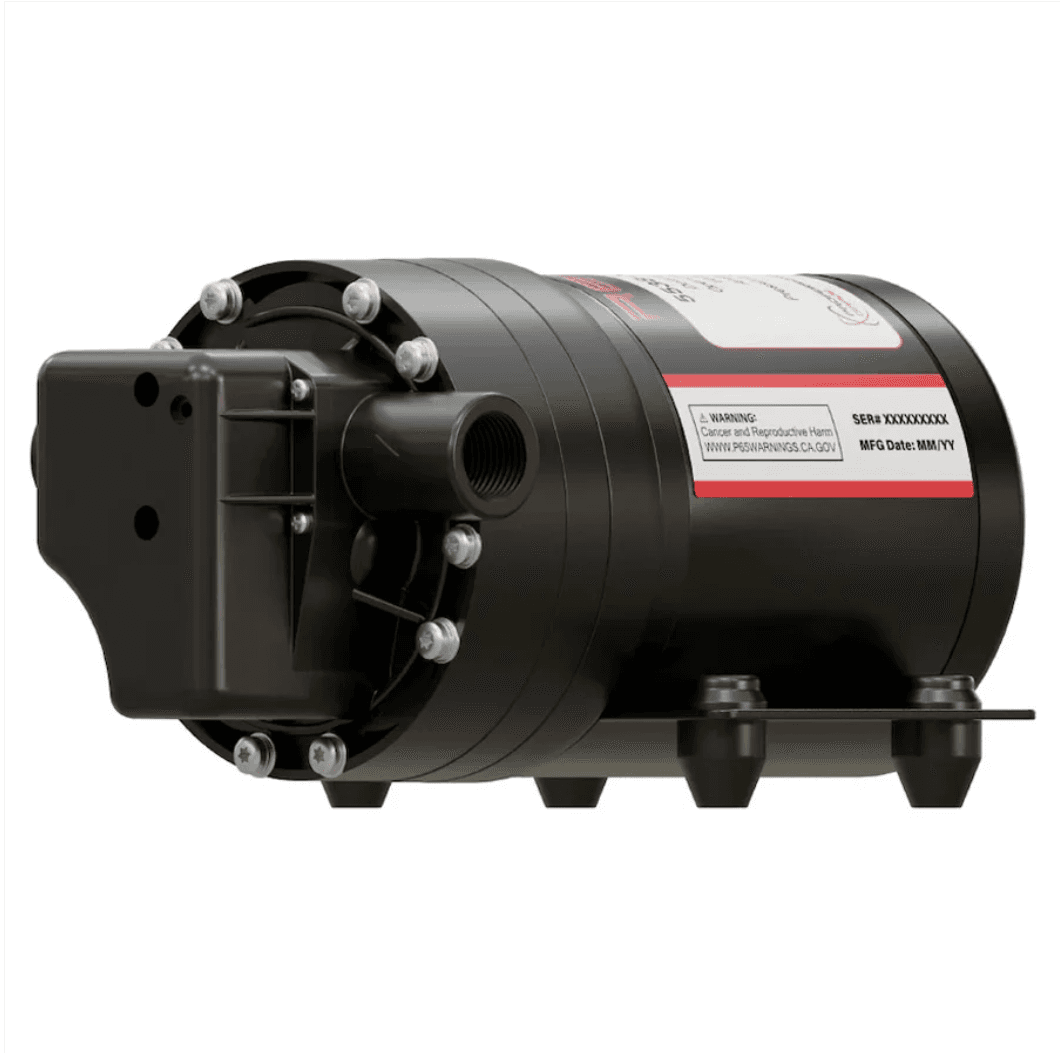
Remco 5538 ProFlo FatBoy 7 GPM Pump
This is the pump I used for my main build. The extra flow gives me better reach and faster application than a small budget pump, while still keeping the entire system simple and battery powered.
- Pair it with the 7–8 GPM J-Rod.
- Better choice if you’re already booking house washes and want speed.
- It’s still a demand pump — it needs proper wiring, fuse protection, plumbing, and maintenance like anything else.
Pick a Chemical Tank
Thirty gallons is cheaper and easier to fit. Thirty-five is the middle ground I'd point most people to. Fifty means fewer refills but a lot more weight.
30 Gallon Drum-Style Tank
The cheapest way into a dedicated tank. Thirty gallons is lighter, easier to fit on a small trailer or truck bed, and still enough mix for most single house washes.
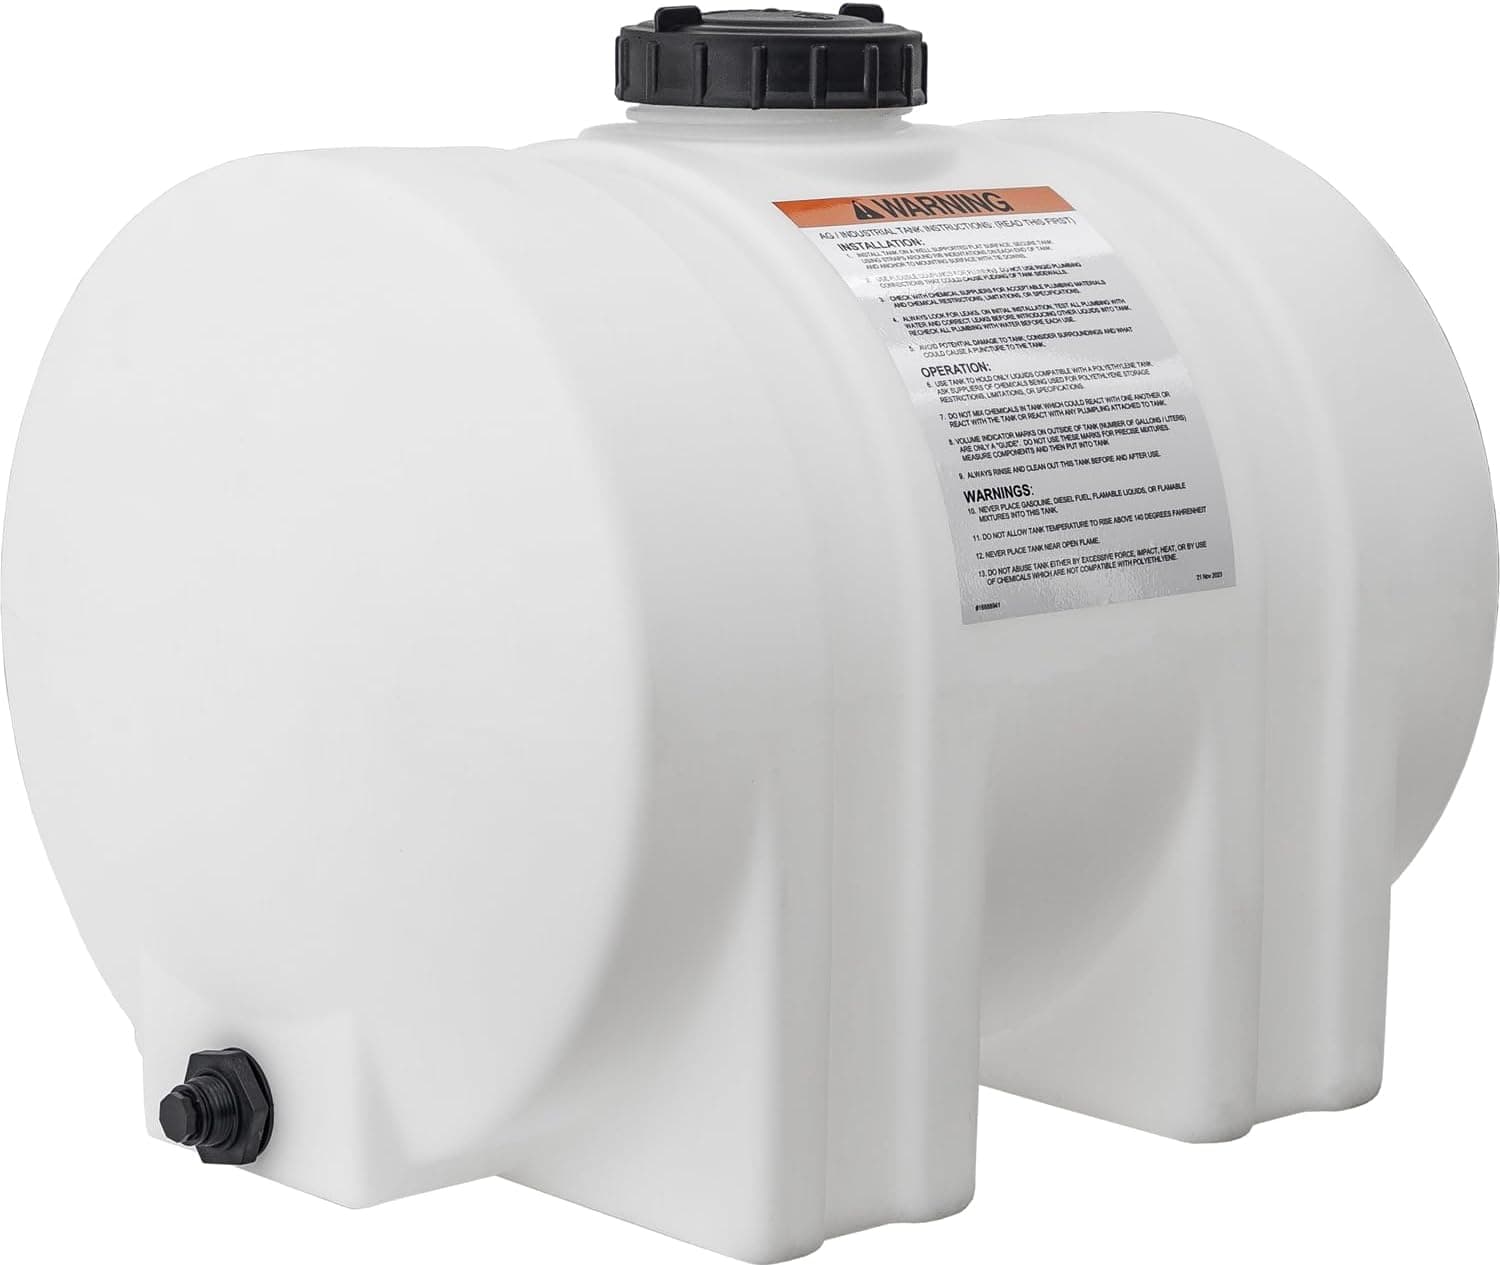
35 Gallon Round Chemical Tank
The middle ground I’d point most people to. Enough capacity for a full job with margin, without the weight and footprint of a 50 gallon tank.
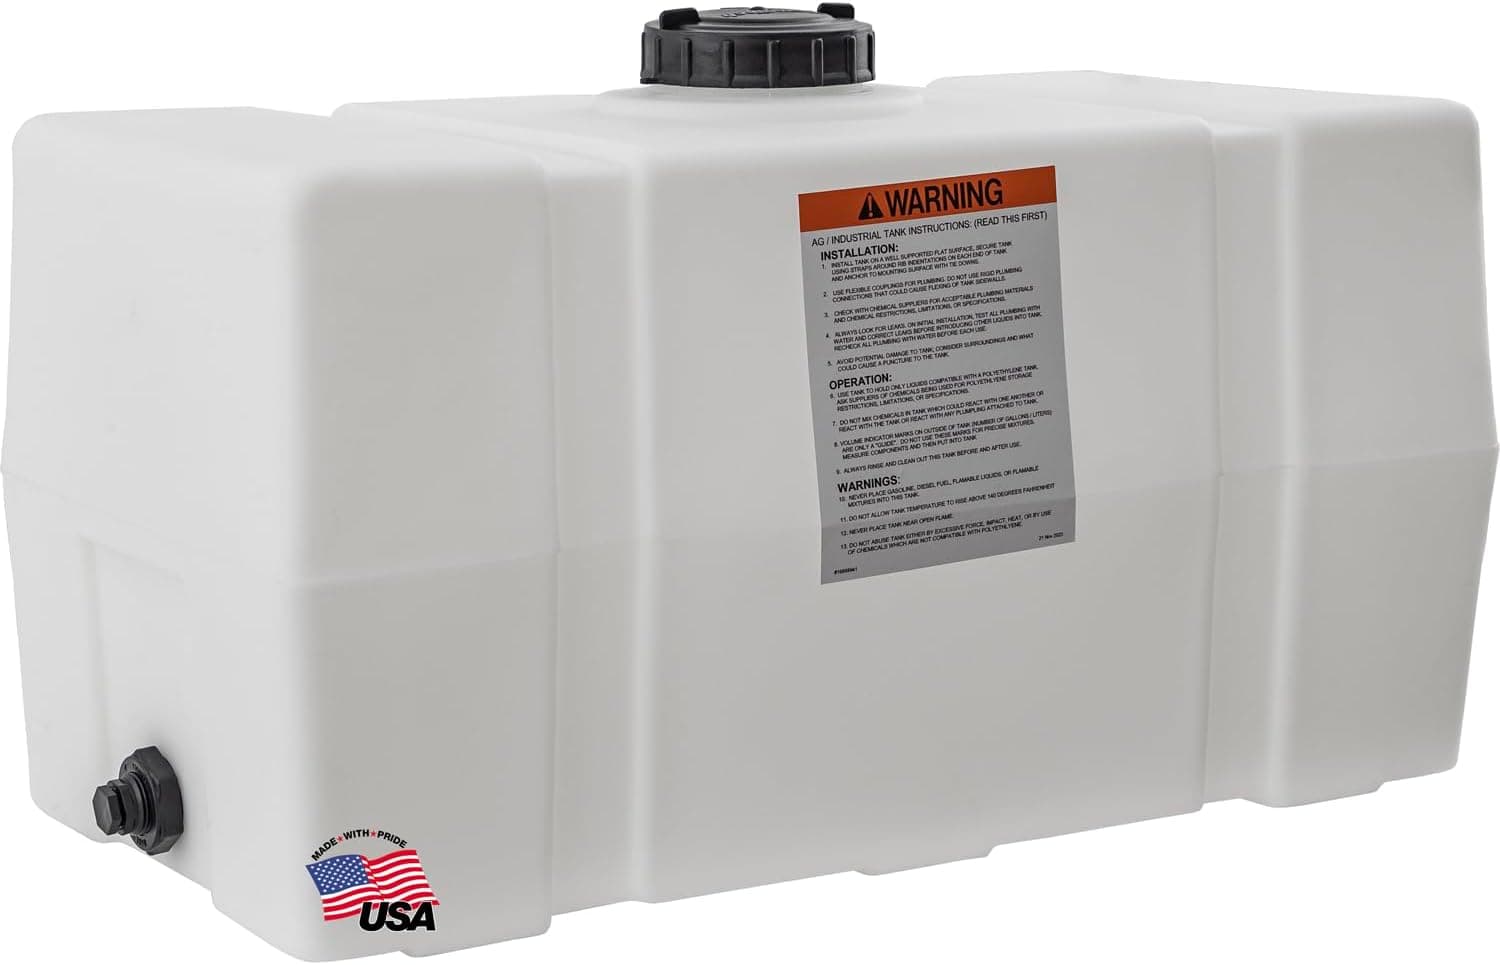
50 Gallon Chemical Tank
Fewer refills, more back-to-back jobs — but also a lot more weight when it’s full. Make sure your trailer and mounting spot can actually handle it.
Weight adds up fast
A gallon of liquid weighs roughly 8.3 pounds — a full 50 gallon tank is over 400 pounds before you add the rest of the build. Think about where that weight sits on your trailer, check your trailer's capacity, and strap the tank down properly so it cannot shift.
Tank Bulkhead & Suction Plumbing
This is how chemical gets out of the tank and into the pump. It's the part of the build people overthink — it's four cheap parts and one hole in the tank.
3/4-Inch Bulkheads, 2 Pack
The bulkhead is what turns a plain tank into a plumbed tank — it seals through the tank wall and gives you a threaded port for the suction fitting. The 3/4 inch here is the nominal plumbing size, not the size of the hole you drill.
Hole Saw Kit
Cheap kit that covers the cutout for the bulkhead. Match the saw to the bulkhead manufacturer’s specified cutout — not to the “3/4 inch” in the product name.
3/4-Inch Braided Hose With Clamps
This is the suction line that feeds the pump from the tank. Braided hose resists collapsing under suction, and the clamps lock it onto the barbs at both ends.
3/4-Inch Male NPT to 3/4-Inch Barb, 90-Degree Banjo
Threads into the bulkhead and turns the suction line 90 degrees so the hose runs low and tight along the tank instead of kinking straight out the side.
1/2-Inch Male NPT to 3/4-Inch Barb
This is the fitting that adapts the 3/4 inch suction hose down to the pump inlet on my build. Verify your exact pump’s inlet port size and thread before ordering — not every pump uses the same ports.
The Suction Path
The suction side is intentionally oversized. Running 3/4-inch plumbing all the way to the pump inlet reduces restriction feeding the pump — a starved suction side is the fastest way to make a good pump perform badly. Keep this path short, sealed, and unrestricted, and let the pump do the work.
Suction-Side Rules I Follow
- Keep the suction run as short and unrestricted as practical.
- Avoid unnecessary reducers before the pump.
- Use chemical-compatible fittings — this line lives in SH mix.
- Verify the exact pump port size before ordering fittings.
- Use thread sealant or PTFE products rated for the chemical being used.
- Hose clamps should be snug, not cutting or crushing the hose.
- A drop tube inside the tank works when the bulkhead arrangement requires it.
- Verify your exact tank, bulkhead, and pump threading before buying anything.
Battery, Box, Fuse, Switch & Wiring
The electrical side is simple: battery, fuse, switch, pump. Doing it cleanly — crimped terminals, a real fuse, a mounted switch — is what separates a system that lasts from one that dies mid-job.
12V Marine Battery
The whole system runs off this battery. A marine deep-cycle style battery handles the repeated draw-down and recharge cycles of pump work better than a basic car starting battery.
Plastic Battery Box
Keeps the battery contained, covered, and away from chemical splash. Cheap, light, and easy to drill for the switch and wiring pass-throughs.
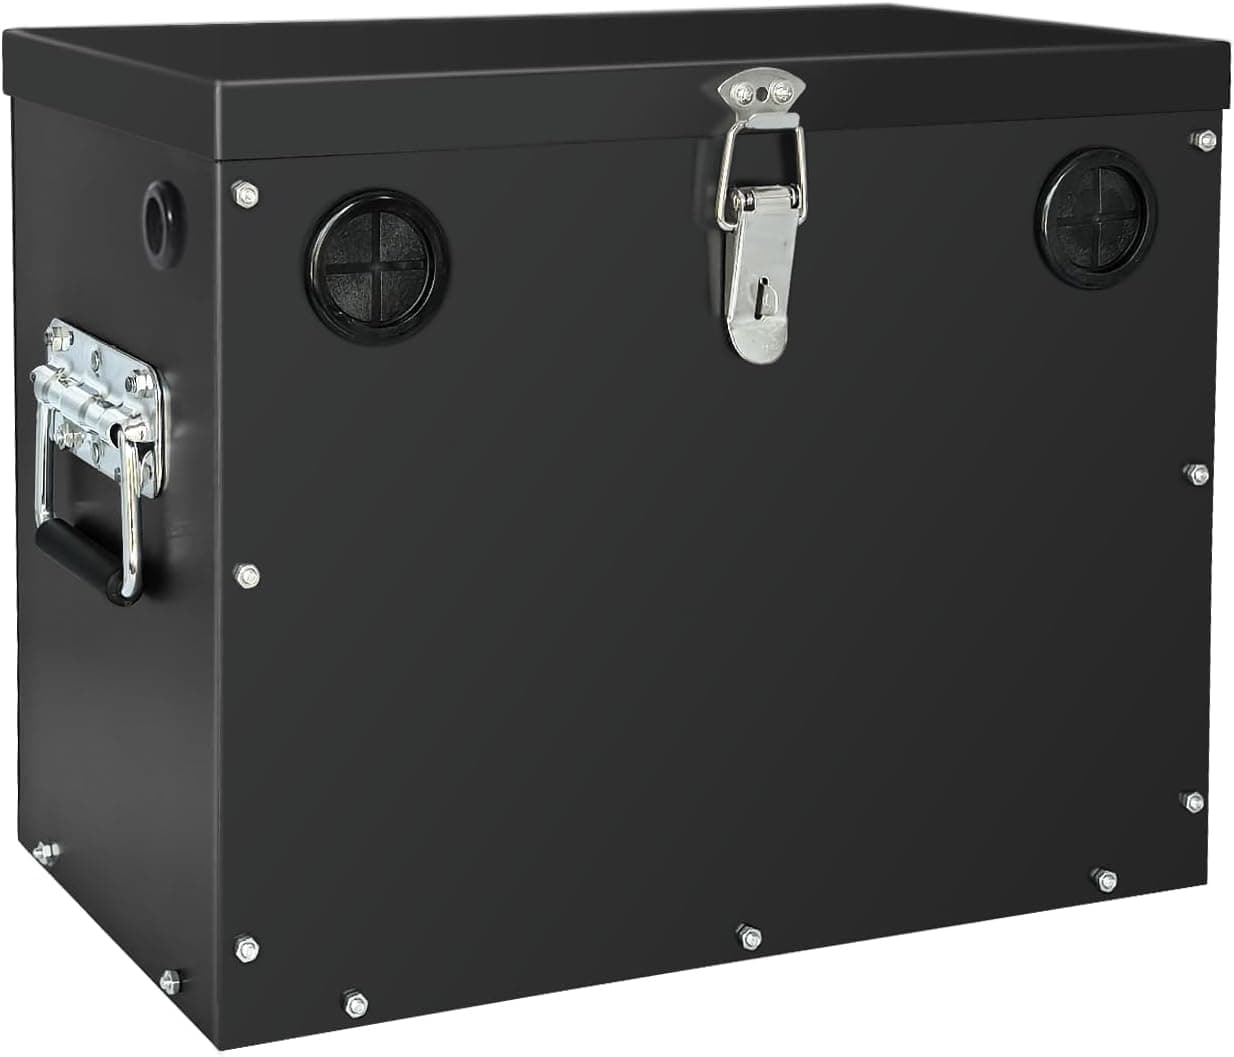
Steel Battery Box
Tougher option if the box lives on an open trailer and takes abuse. Costs more and is heavier, but it holds up better long term.
Heat-Shrink Ring Terminal Kit
Crimped and heat-shrunk ring terminals are what keep your connections solid around water and chemical. Twisted bare wire on a battery terminal is how systems die early.
Battery Box On/Off Switch
A master switch mounted to the battery box lets you kill the pump without popping the lid and pulling a terminal. Verify the switch’s continuous 12V DC amp rating against your pump’s current draw — if it isn’t rated for it, run a properly rated relay or contactor instead of switching the full load directly.
10-Gauge Inline Fuse Holder Kit
The fuse protects the wiring if something shorts. Use the fuse amperage your pump manufacturer specifies — not a guess — and mount the holder as close to the battery as practical.
The Wiring Path
Positive side
Negative side
The pump has a positive and a negative wire. The negative wire runs directly back to the battery's negative terminal. On the positive side, I run the wire through an inline fuse first, then through the master on/off switch mounted to the battery box, and finally to the pump's positive wire. That lets me shut the entire system off from the battery box instead of disconnecting the battery every time.
I demonstrate this wiring in the full build video, while the diagram above shows the exact order of the components.
What Each Electrical Part Does
Marine battery
Supplies the 12V power for the entire system.
Inline fuse
Protects the wiring and pump circuit if something shorts.
Master switch
Lets you shut the whole system off right at the battery box.
Heat-shrink terminals
Create cleaner, more corrosion-resistant connections.
Battery box
Protects and secures the battery on the trailer.
Pump pressure switch
Built into the demand pump — automatically stops it when you release the gun.
How I'd Wire It, Step by Step
- 1Disconnect the battery before starting.
- 2Identify the pump’s positive and negative wires.
- 3Connect the pump’s negative wire to the battery’s negative terminal using a properly crimped and heat-shrunk ring terminal.
- 4Install the inline fuse holder on the positive side as close to the battery as reasonably practical.
- 5Connect the battery side of the fuse holder to the positive battery terminal.
- 6Connect the other side of the fuse holder to one terminal of the master switch.
- 7Run a second positive wire from the other switch terminal to the pump’s positive wire.
- 8Use properly sized heat-shrink butt connectors or ring terminals at every connection.
- 9Secure the wires so they can’t rub against sharp metal, contact moving parts, sit in standing water, or be exposed to chemical leaks.
- 10Use grommets or strain relief wherever wiring passes through the battery box.
- 11Confirm positive and negative polarity before reconnecting the battery.
- 12Test the system using clean water before adding sodium hypochlorite.
Hose & Storage Reel
Half-inch hose is the standard for a 12V soft wash setup. Pick the length that matches how far you park from the houses you wash.
Flexzilla 50-Foot, 1/2-Inch Hose
Fifty feet keeps the budget build cheap and easy to manage. Fine for single-story houses and smaller properties where you can park close.
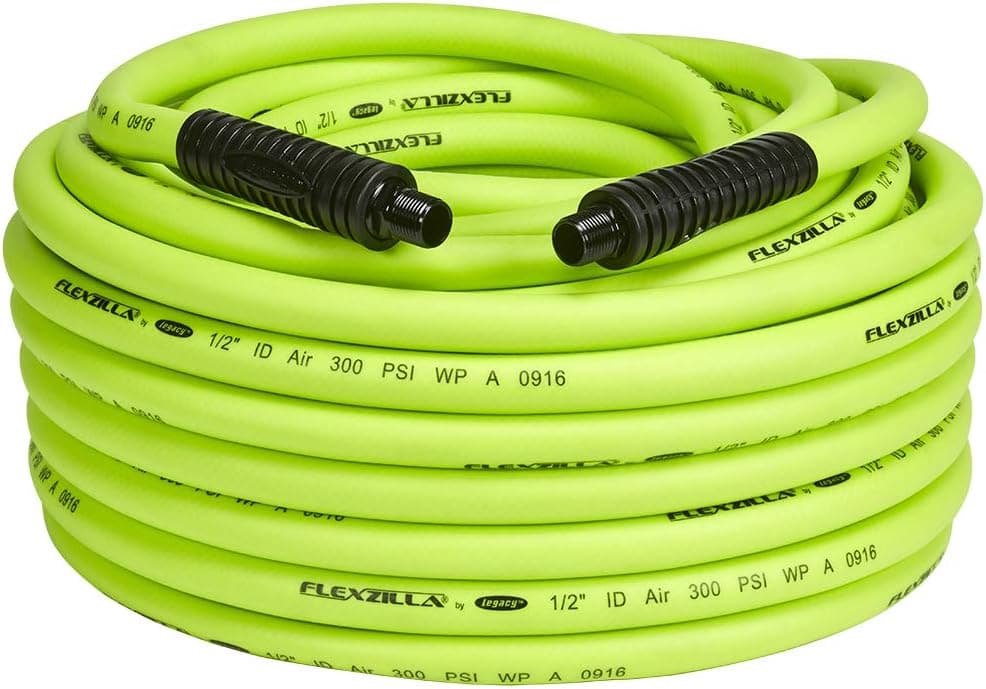
Flexzilla 100-Foot, 1/2-Inch Hose
A hundred feet is what I run. It lets me park the trailer once and reach all the way around most houses without dragging the whole system.
VEVOR Storage Reel
I use this as a storage reel — a clean place to wind up 100 feet of soft wash hose so it isn’t piled on the trailer deck. Treat it as storage only unless you’ve confirmed your exact reel has a chemical-rated live swivel. Don’t assume chemical can safely flow through the reel’s swivel.
3/4-Inch Female NPT to 1/2-Inch Male NPT
One of the two adapters I use so the hose can connect neatly to the reel for organized storage.
1/2-Inch Female NPT to 1/2-Inch Female NPT
The second adapter in my reel hookup. Between these two, the hose end mates cleanly with the reel instead of dangling loose.
To be clear about how I use the reel: it's storage, not plumbing. I use the two adapters above so the hose connects neatly to the reel and stays wound and organized between jobs — I'm not claiming chemical flows through the reel's swivel, and you shouldn't assume it can unless your exact model is confirmed to have a chemical-rated live swivel.
Pump Outlet Quick-Connect
A small upgrade that makes the whole system nicer to live with. One click and the hose is off the pump.
The Discharge Path
This is where the system transitions from the oversized 3/4-inch suction plumbing down to the 1/2-inch discharge hose. I demonstrate this connection in the full build video, while the diagram above shows the exact order of the components.
Why I Added the Quick-Connect
- Faster setup and breakdown on every job.
- Easier hose removal without wrenches.
- Easier pump storage or replacement.
- Cleaner trailer organization — the hose, pump, gun, and J-Rod all separate for storage.
Verify Before You Order
- Your pump outlet thread size.
- Male versus female thread.
- Hose fitting size.
- Quick-connect plug versus socket orientation.
Suttner Gun, Quick-Connects & J-Rod
The business end of the system. Quick-connects on the gun mean I can pull the J-Rod off in seconds, swap nozzle assemblies, and break the whole thing down without unscrewing fittings all day.
What the Quick-Connects Get Me
- Remove the J-Rod quickly between houses.
- Change nozzle assemblies without tools.
- Store the gun more easily.
- Disconnect the hose without unscrewing fittings repeatedly.
I show the assembled gun setup in the full build video — the Gun & Nozzle diagram further down this page shows the exact connection order.
Suttner ST-515 Gun
The soft wash gun I actually run. Simple, cheap, comfortable to hold all day, and it takes the quick-connect setup below so the J-Rod pops on and off in seconds.
5–6 GPM J-Rod
Nozzles sized for a 5–6 GPM pump. If you go with the VEVOR pump, this is the J-Rod that matches its flow.
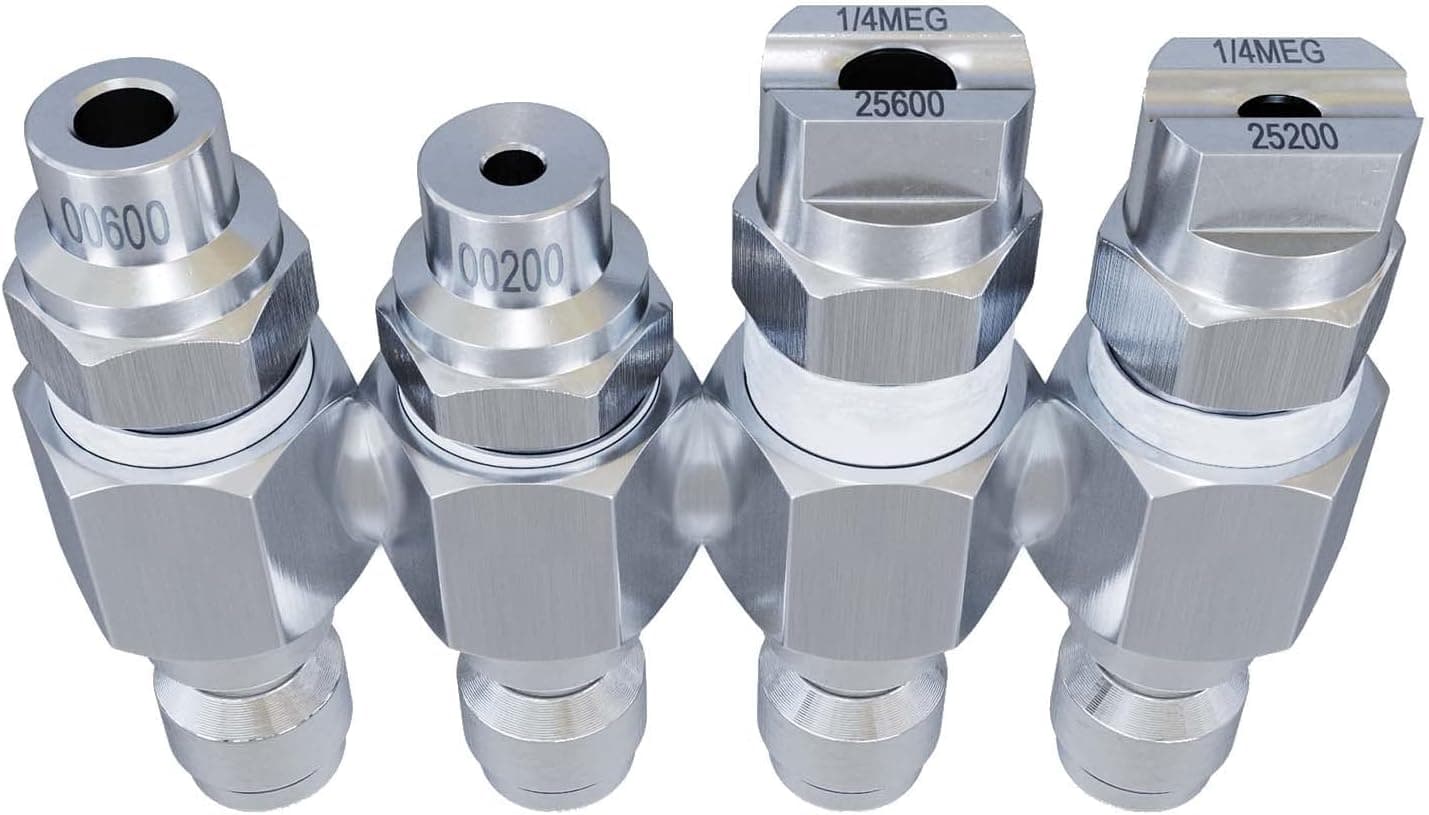
7–8 GPM J-Rod
Nozzles sized for a 7–8 GPM pump. This is what I run on the Remco — matching the J-Rod to the pump’s actual flow is what gets you real distance.
3/8-Inch Male NPT Quick-Connect Kit
The stainless quick-connects that make the gun and J-Rod modular. I believe these correspond to my Suttner setup, but confirm your exact gun’s threads before ordering.
1/2-Inch Male NPT to 3/8-Inch Female Reducer, 2 Pack
Steps the 1/2 inch side down to 3/8 inch so the quick-connect kit ties into the gun and hose ends. Same warning as above — verify threads on your exact parts.
How the Complete System Connects
Every connection in the system, no photos required. Cyan is chemical draw, blue is discharge, red is switched positive power, gray is negative.
Chemical Flow
From the tank, through the oversized suction side, into the pump, and out to the discharge hose.
Electrical Power
Fused positive through the master switch; negative straight back to the battery.
Gun & Nozzle Setup
The business end — quick-connects on both sides of the gun so everything separates for storage. The reel stays storage-only.
Step-by-Step Assembly Order
The order matters — mount before you plumb, plumb before you wire, and test with clean water before chemical ever touches the tank.
- 1
Plan the layout
Decide where the tank, battery, pump, and reel will be mounted before you drill or plumb anything.
- 2
Secure the tank and battery box
Strap and mount the tank and battery box first. Plumbing a tank that can still shift is asking for cracked fittings.
- 3
Verify the bulkhead hole diameter
Check the bulkhead manufacturer’s specified cutout — the nominal 3/4-inch plumbing size is not the hole size you drill.
- 4
Drill and deburr the tank opening
Start with a pilot hole, cut the opening with the correct hole saw, and deburr the edge carefully so the gasket seats clean.
- 5
Install the bulkhead
Install the bulkhead with the gasket in the correct position, and snug it down without overtightening and deforming the gasket.
- 6
Install the suction barb and braided hose
Thread the 90-degree barb into the bulkhead and clamp the 3/4-inch braided suction hose onto it.
- 7
Connect the suction hose to the pump inlet
Run the suction hose to the pump inlet adapter and clamp it. Keep the run short and unrestricted.
- 8
Install the pump outlet adapter and quick-connect
Install the correctly sized outlet adapter and the stainless quick-connect on the pump’s discharge side.
- 9
Prepare the discharge side
Get the soft wash hose, reel, gun, reducers, and J-Rod assembled and ready to connect.
- 10
Mount the switch to the battery box
Bolt the master switch through the battery box, and add grommets or strain relief anywhere wiring passes through.
- 11
Wire the battery, fuse, switch, and pump
With the battery disconnected, wire battery positive through the inline fuse to the switch, then to the pump positive. Run pump negative to the negative battery terminal. Crimp and heat-shrink every ring terminal.
- 12
Verify polarity and fitting tightness
Double-check positive and negative before power-up, and confirm every clamp and fitting is snug.
- 13
Test with clean water
Fill the tank with clean water and run the full system — never test a new build with chemical first.
- 14
Inspect everything under load
While it runs, check every fitting, clamp, and electrical connection for leaks, weeping, or heat.
- 15
Flush after chemical use
Once the system goes into service, flush the entire system with fresh water after every chemical use.
My Exact Build vs. The Cheapest Build
Same skeleton, different spend. Here's exactly where the extra money goes.
Cheapest Build
Budget 5 GPM
- VEVOR 5 GPM pump
- 30-gallon drum tank
- Plastic battery box
- 50-foot 1/2-inch hose
- Storage reel
- Suttner ST-515 gun
- 5–6 GPM J-Rod
- Same wiring, bulkhead, suction hose, and fitting kit as my build
What I Actually Run
My 7 GPM Build
- Remco 7 GPM FatBoy pump
- 35-gallon tank (or 50 for capacity)
- 12V marine battery
- Mounted master switch + inline fuse
- 100-foot 1/2-inch hose
- Storage reel
- Suttner ST-515 with stainless quick-connects
- 7–8 GPM J-Rod
My recommendation:If you are brand new and unsure how much soft washing you'll do, start with the 5 GPM build. If you're already booking house washes and want more application speed and reach, I'd spend the extra money on the Remco.
Before You Order Anything
Run through this list first. Most 'the parts don't fit' problems come from skipping one of these checks.
- Confirm the pump inlet and outlet thread sizes.
- Confirm male versus female NPT threading on every connection.
- Confirm the Suttner gun’s inlet and outlet sizes.
- Match the J-Rod to the pump’s actual flow.
- Verify the bulkhead cutout diameter from the manufacturer.
- Confirm the switch’s continuous DC amp rating against the pump’s draw.
- Use the fuse size the pump manufacturer recommends.
- Account for total wire length when selecting wire gauge.
- Use chemical-compatible hose, sealant, clamps, and fittings.
- Verify the tank is vented and properly secured.
- Confirm the reel is storage-only unless its swivel is chemical rated.
Cleaning & Maintenance
A 12V system is cheap to build and cheap to keep alive — if you flush it. Bleach left sitting in a pump is the number one killer of these setups.
The Whole Build, One Page
Build It Once. Keep It Simple. Start Washing.
This is the basic 12V system I'd put together for someone who wants professional soft wash flow without buying a full prebuilt skid.
As an Amazon Associate I earn from qualifying purchases. Some links on this page are affiliate links — I may earn a commission at no extra cost to you. Prices are estimates and may change; click through for current pricing.